Introduction
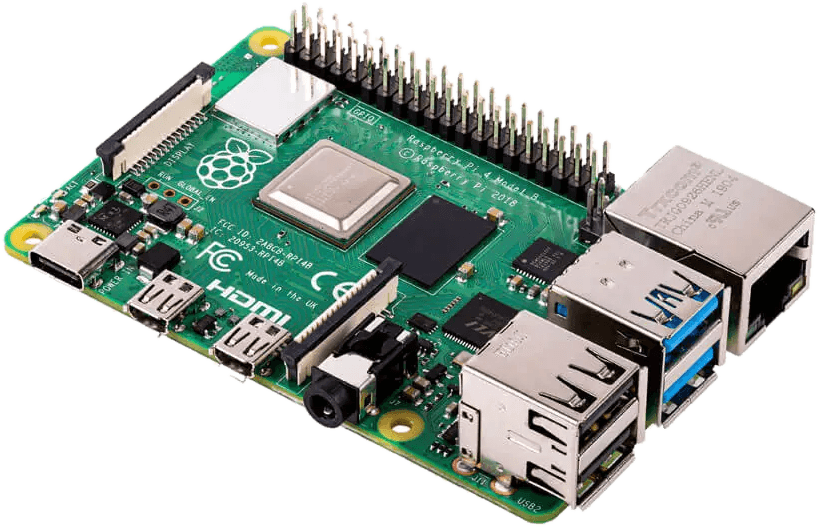
Turn a Raspberry Pi 4 into a Yodeck Player in three stages: flash the SD card, boot the player and register it in your account.
At a glance: about 20 minutes · basic IT skills needed · you’ll end up with a player showing a registration code on your screen
Choose the right guide
- Want a player without the setup? Yodeck Players come ready to use and are free with annual subscriptions. Order from your account.
- Using a Raspberry Pi 5? Follow the Raspberry Pi 5 guide instead.
- Building with a Raspberry Pi 4? You’re in the right place.
Creating a Yodeck Player based on Raspberry Pi 4
Prerequisites
Make sure that you have everything you need:
| Item | Details |
|---|---|
| Raspberry Pi 4 | 1GB or 2GB is fine for videos and images. Choose 4GB or 8GB if you’ll show several web pages or dashboards at once. |
| microSD card | Class 10 from a reputable brand. 8GB minimum, 16GB recommended. The software uses about 3.5GB, and the rest is used to store your media. |
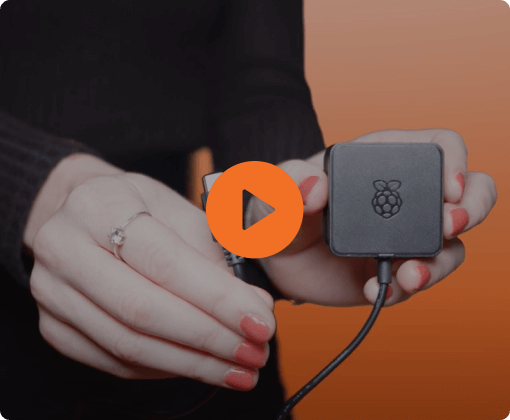
| Power supply | Official or equivalent 5V/3A supply for the Pi 4. |
| SD card reader | To flash the card from your computer. |
| Screen | Any TV or monitor with an HDMI input, plus an HDMI cable. |
| Internet connection | An Ethernet cable is the easiest way to get started. WiFi also works. |
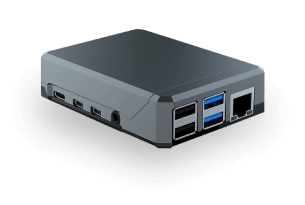
Recommended: a case for the Pi. Metal cases dissipate heat better, which helps players who run all day.
Using an older model? See the Raspberry Pi compatibility chart. New to Raspberry Pi? Start with What is the Yodeck Player?
Preparing the player’s SD card with the Yodeck Software image
Step-by-step procedure:
- Download the latest Yodeck SD card image
- Unzip the downloaded zip file and save the extracted image file to your hard drive.
- 💡It should be a single IMG file of about 3.2GB.
- 💡It should be a single IMG file of about 3.2GB.
- Download Etcher and install it.
- 💡Etcher is a fantastic SD card image writing/verification tool that works on Windows, Mac, and Linux.
- 💡Here are some more details about Etcher!
- Remove the SD card from the Raspberry Pi, insert it into your SD card reader, and then insert it into your PC or laptop.
- 💡If any windows pop up on your screen upon placing the SD card on your PC/Laptop, ignore and close all of them.
- 💡If any windows pop up on your screen upon placing the SD card on your PC/Laptop, ignore and close all of them.
- Run Etcher, select the unzipped Yodeck image file from your hard drive, select the SD card to write to, then click the “Flash!” button.
- After Etcher completes it, you will be prompted to remove the SD card. Remove the SD card and place it back into the Raspberry Pi.
- Connect your Raspberry Pi to your TV/Monitor via HDMI and connect it to the internet via an Ethernet cable.
- 💡If you don’t have an Ethernet cable and want to use a WiFi connection, please follow this guide.
- 💡If you don’t have an Ethernet cable and want to use a WiFi connection, please follow this guide.
- Power up the Raspberry Pi and wait for the initialization process to complete. It may take up to 5′ to finish.
- Upon completion, you should see a message on the screen connected to the Pi, either a Registration Code or a connectivity error (if there is no Internet access).
- Ensure you do not remove the Raspberry Pi’s power plug until you see one of these message screens. At all times, if the player is showing a blinking message in the bottom-right corner of the screen (“Loading”, “Configuring”, “Downloading”, etc.), you should not remove power to minimize the risk of interrupting a critical procedure.
How to create a DIY Yodeck player
Registering a Player on your Account
After creating a Player, you must register it under your Yodeck Account.
- Log in to your Yodeck Account
- 💡If you do not have a Yodeck account, create one for free.
- 💡If you do not have a Yodeck account, create one for free.
- Click the “Screens” section and the “+Add Screen” button on the left sidebar.
- In the ” Registration Code ” field, type in the 8-digit Registration Code you see on the Player’s TV screen and click the “Save” button.
- ℹ️For more information, please check the New Screen Registration article.
- 💡If an error message is on the screen, you probably have networking issues. Try using an Ethernet cable, or follow this troubleshooting guide.
- 💡If an error message is on the screen, you probably have networking issues. Try using an Ethernet cable, or follow this troubleshooting guide.
- ℹ️For more information, please check the New Screen Registration article.
- After a minute or so, your player should register with your Yodeck Account and start showing content on the screen.
How to register your DIY Yodeck player
Quick How-to Video: Yodeck Player Setup
Troubleshooting
The screen shows a connectivity error
- Your network may need extra setup, such as WiFi credentials, a proxy or open ports. Connect via Ethernet first, then configure the rest in the Yodeck Portal. See the Step-by-Step Troubleshooting Guide.
My network blocks the player
- Ask your IT team to allow the required ports. See Which ports do I need to whitelist?
My WiFi has a login page (captive portal)
I see a warning icon on the screen
Configuring NTP Server(s) – Optional Feature for Advanced Users
Raspberry Pi 4 players keep time with the device’s built-in NTP service, which is enough for most setups. If your deployment needs a specific or centralized time source, you can configure custom NTP servers.
Need Help?
The Yodeck Support Team can help you out! Log in to your Yodeck account and send us a message from the bottom right corner!
