Table of Contents
First things First
To enable SCIM in the Yodeck app, you first have to enable SSO successfully.
Also, you should log in to your account as an Account Owner.
This guide describes the process of enabling SSO for SCIM.
Enable SCIM
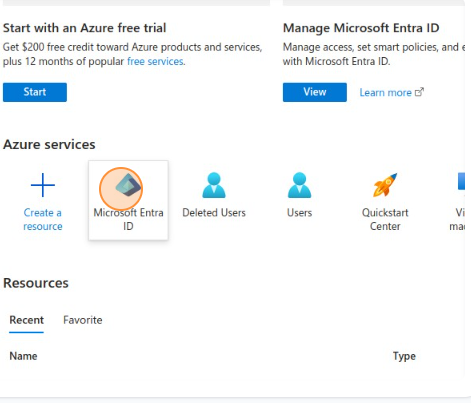
- Log in to Azure
- Go into Entra ID.
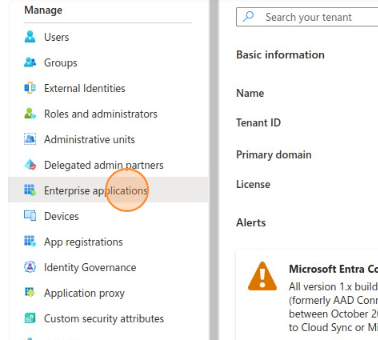
- Enterprise applications
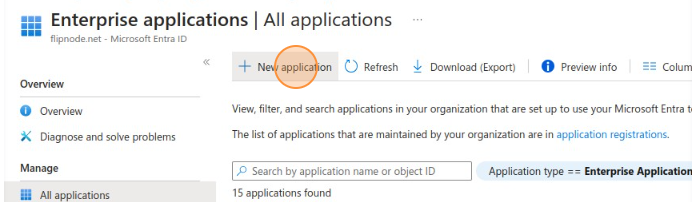
- New application
- Create your own application
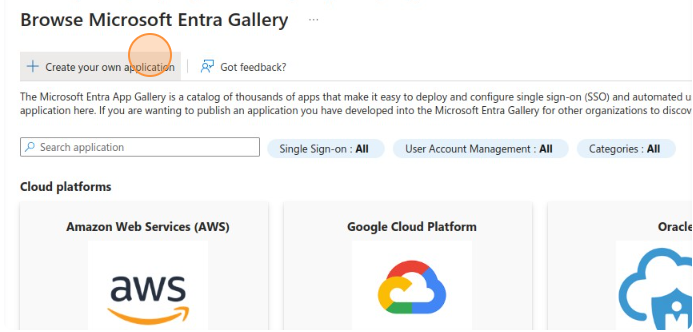
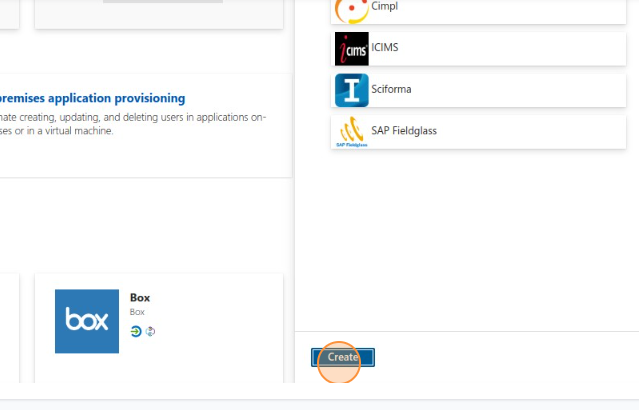
- Give a name to your application and click Create
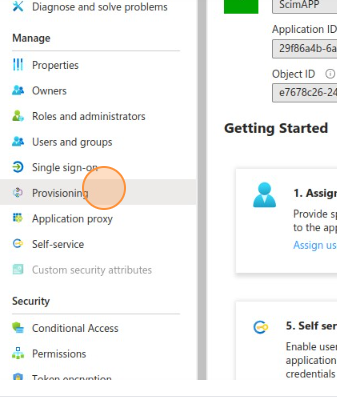
- Click “Provisioning”
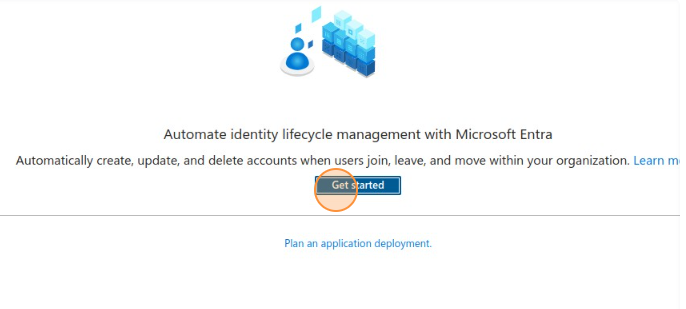
- Click “Get started”
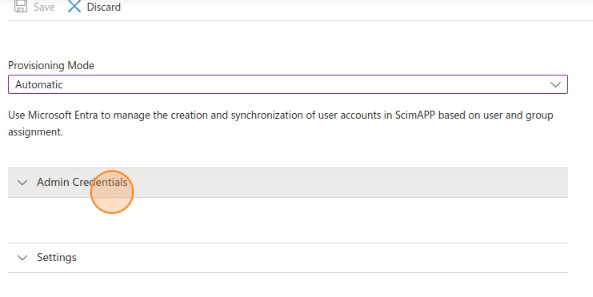
- Select Automatic provisioning mode and click on admin credentials.
- Switch to your Yodeck account
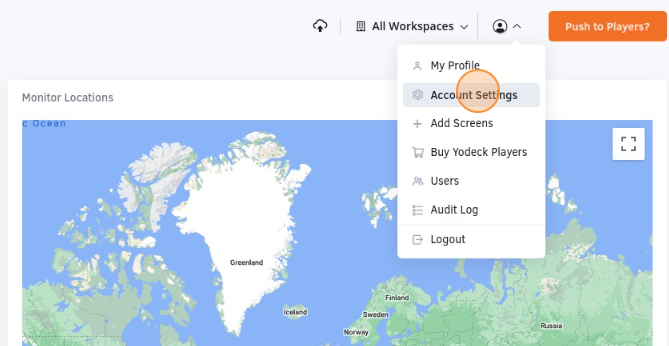
- Navigate to your account settings
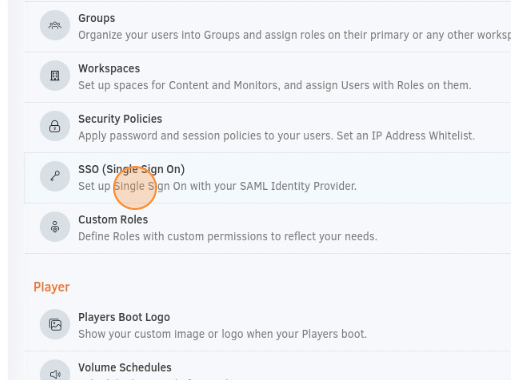
- Click “SSO (Single Sign On)”
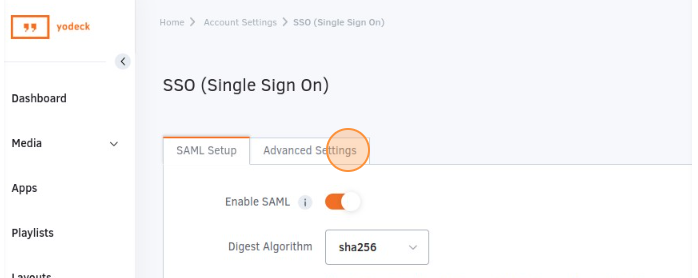
- Click “Advanced Settings” Tab
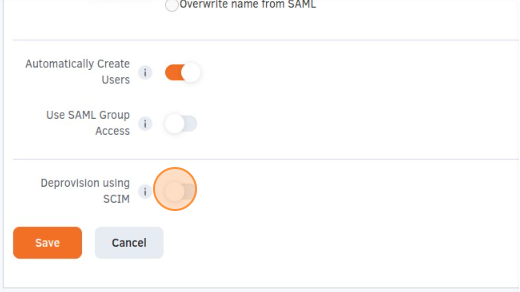
- Turn on Deprovision using SCIM
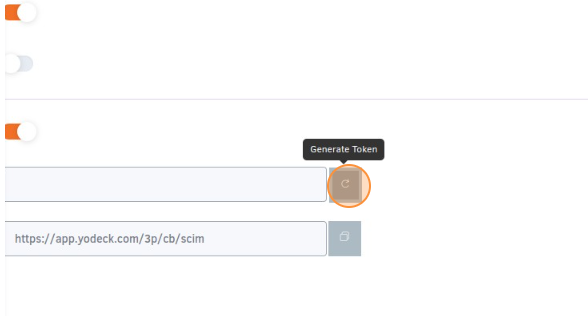
- Generate your secret token and click save.
- Go again into the Provisioning page and paste the Secret Token and Identifier
- Click “Test Connection”
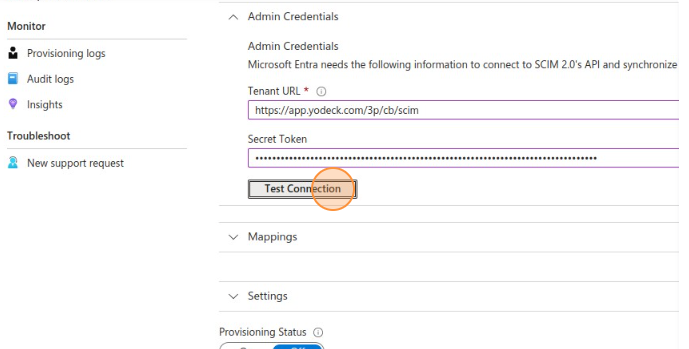
- You should be notified that the supplied credentials are authorized to enable provisioning.
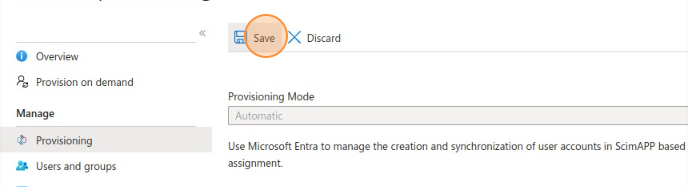
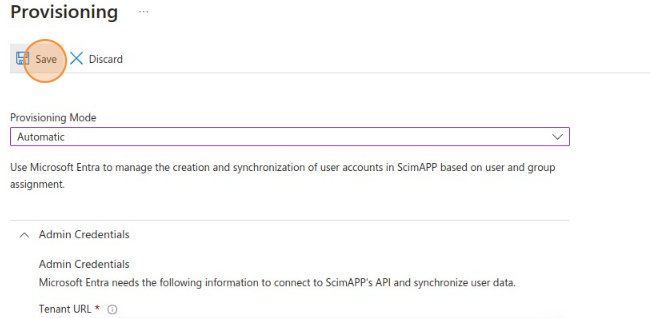
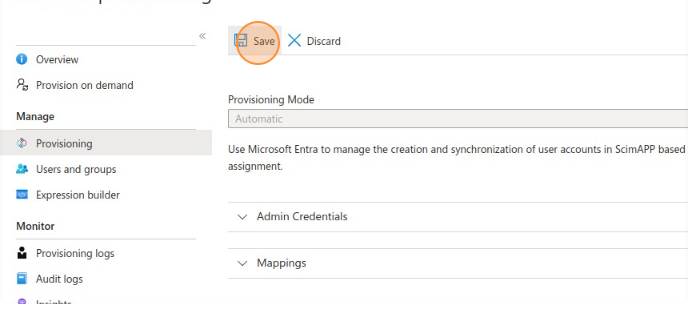
- You are all set. Click save.
User provisioning/de-provisioning
To assign users to your SCIM application, please follow the steps below:
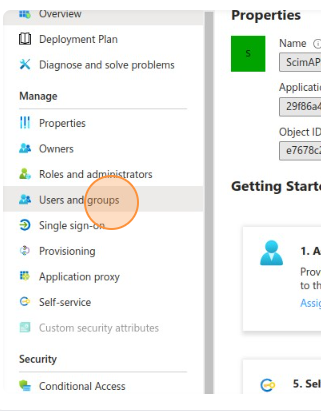
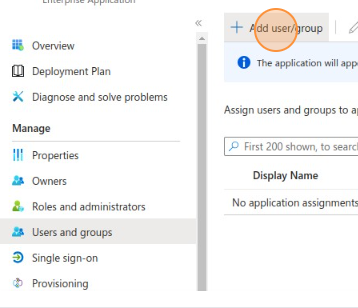
- Go to the application and click on “Users and groups”
- Click “Add user/group”
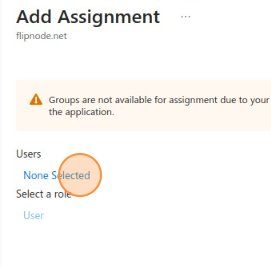
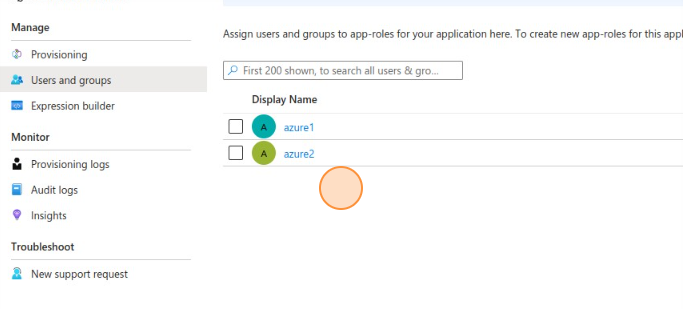
- Click “None Selected” and select the users you want to assign to your SCIM application.
To provision the user, you have to assign him to your SCIM application first.
Bulk provision/de-provision
For Bulk provision/de-provision (create/delete many users), you can follow the steps below:
- Assign the users you want to provision to the SCIM application.
- Go to the provisioning tab and toggle the provision status to on. (If it is on, you have to toggle it off and on again.)
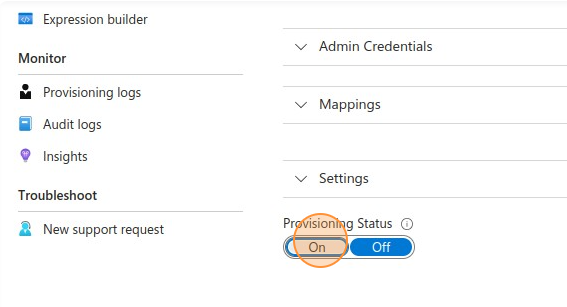
- Click save. The provisioning status will trigger the action that corresponds to the Yodeck app.
Bulk de-provision
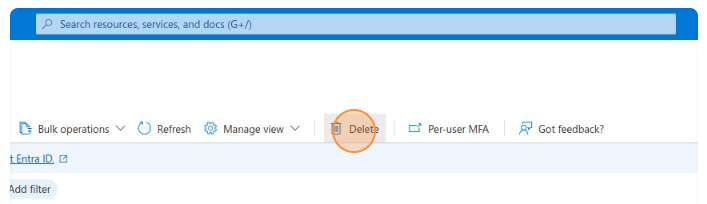
- Switch to the tab “Users” in Microsoft Azure.
- To de-provision the users, go to the user section, select the users you want to de-provision, and click Delete.

- Go to the provisioning tab and toggle the provision status to on. (If it is on, you have to toggle it off and on again.)
- Click Save. With this action, the deleted users from AD will be deleted in the Yodeck app as well.