Table of Contents
First things First
To enable SCIM in the Yodeck app, you first have to successfully enable SSO.
Also, you should log in to your account as an Account Owner.
This guide describes the process of enabling SSO for SCIM.
Enable SCIM
- Login to your OKTA Account
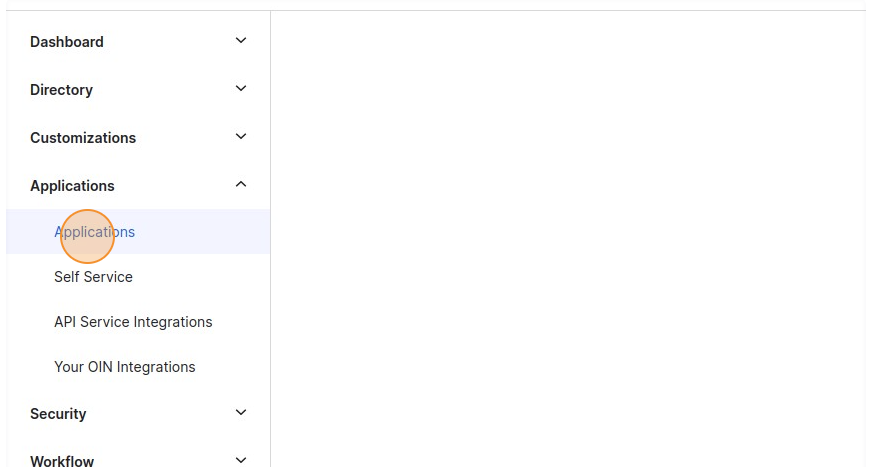
- Click “Applications“
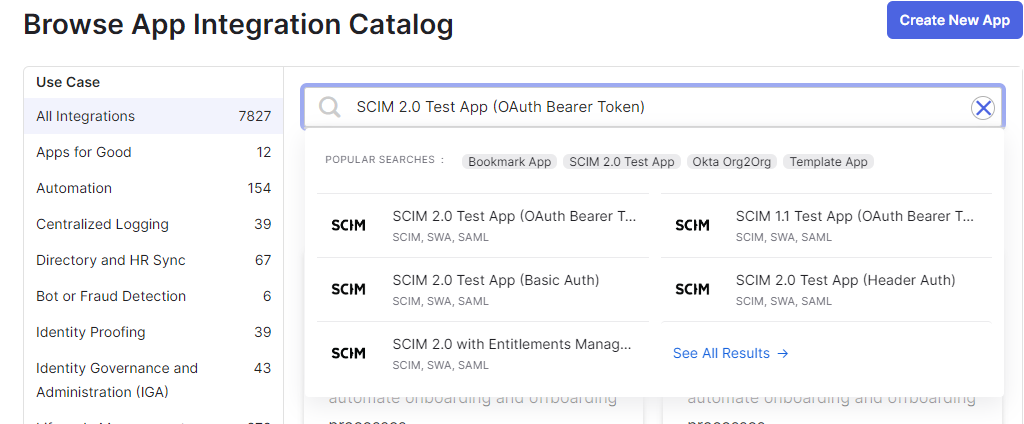
- Click “Browse App Catalog”

- Search and select “SCIM 2.0 Test App (OAuth Bearer Token)“
- Click “Add Integration”
- Configure your general settings. Click Next.
- Configure your desired sign-on options. Click Done.
- Switch to your Yodeck account
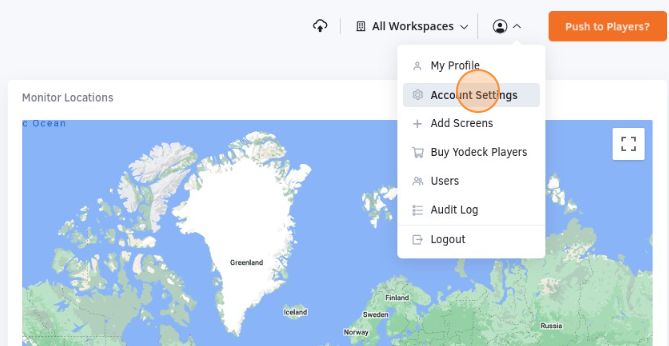
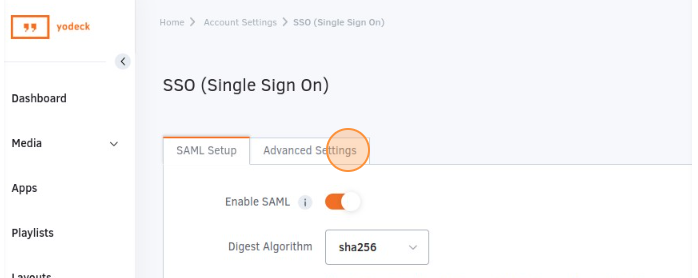
- Navigate to your account settings
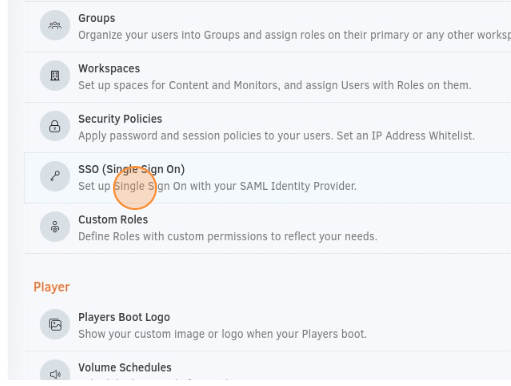
- Click “SSO (Single Sign On)“
- Click “Advanced Settings” Tab
- Turn on “Deprovision using SCIM“
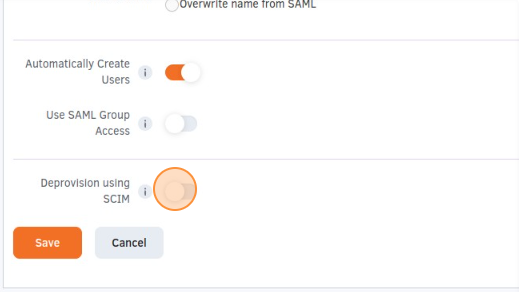
- Generate your secret token and click save
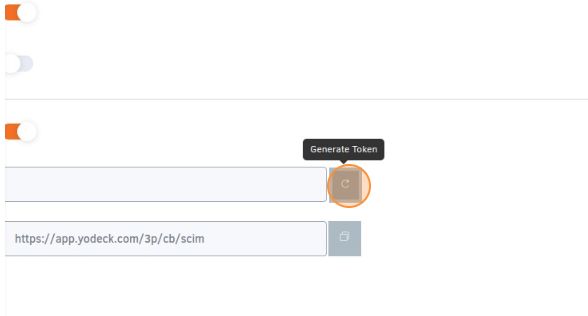
- Go again into the SSO and copy the secret token and identifier URL
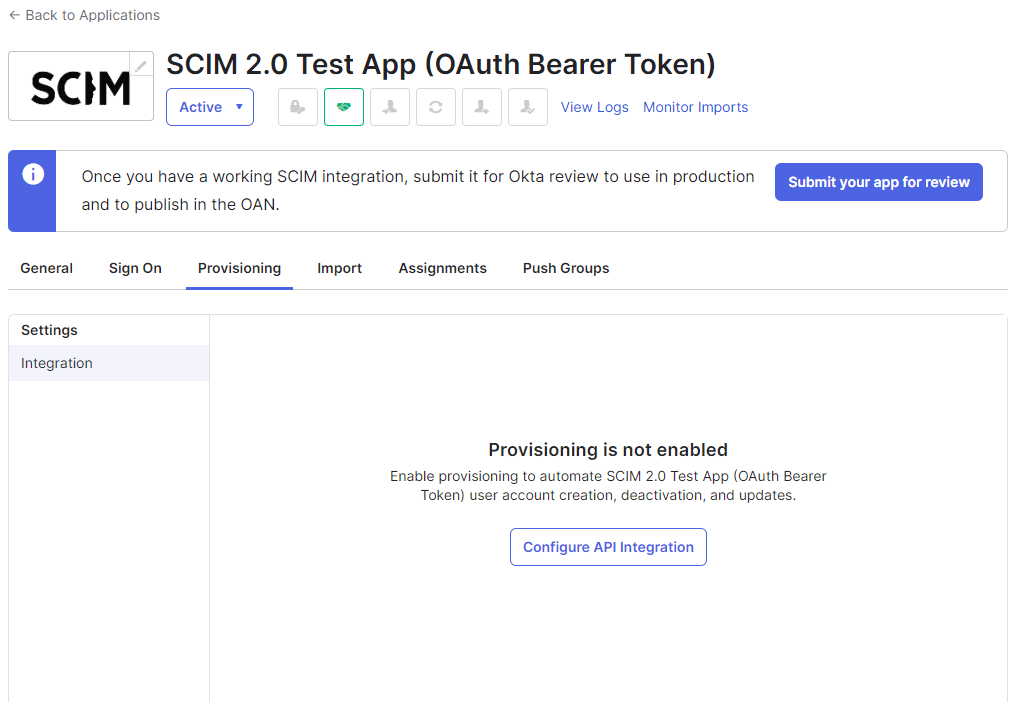
- Navigate again to your OKTA account inside your SCIM app configuration tab
- Click Provisioning and click Configure API Integration
- Enable API integration
- Paste your secret token and URL
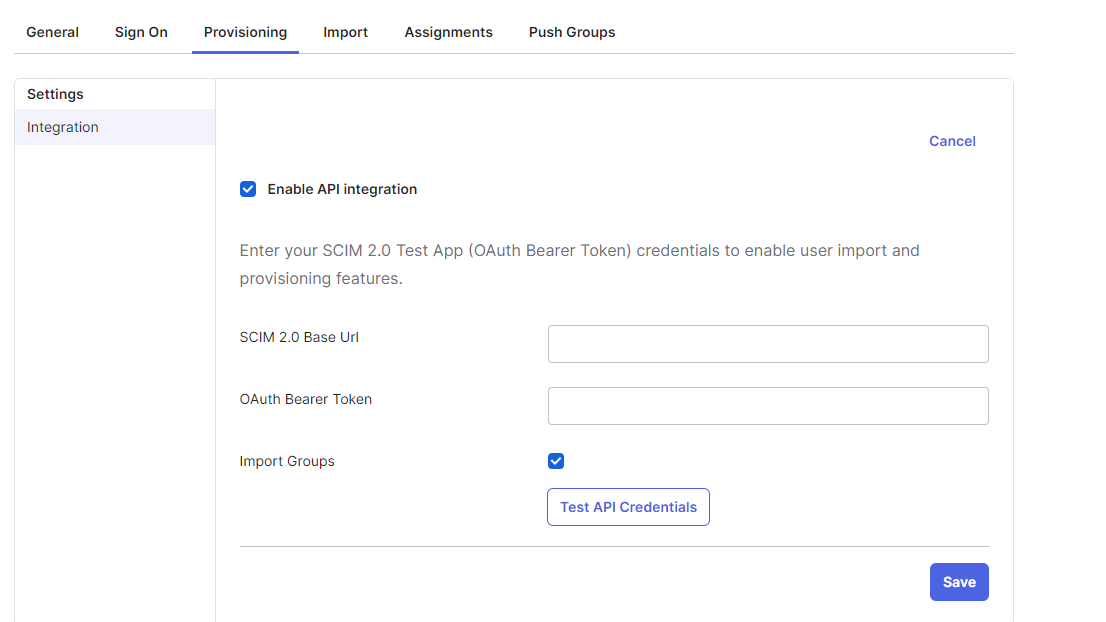
- Test API credentials and SAVE
User provisioning/de-provisioning
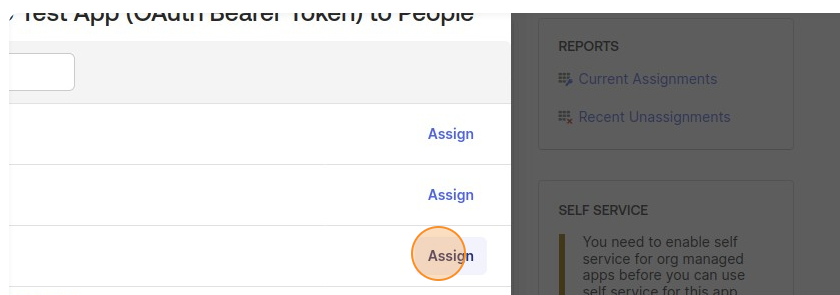
- Go to the ‘Applications‘ tab
- In the Assignment tab, click Assign and Assign to People

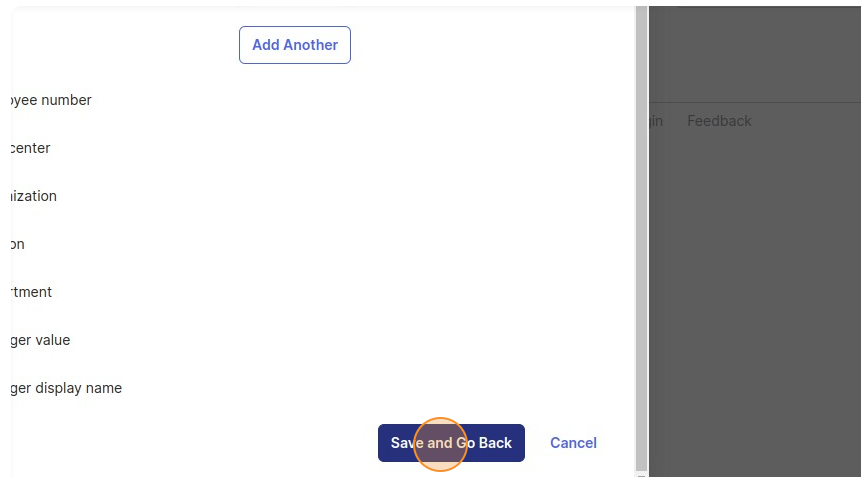
- Select the user you want to assign to your application.
- Click Save. The user is provisioned.
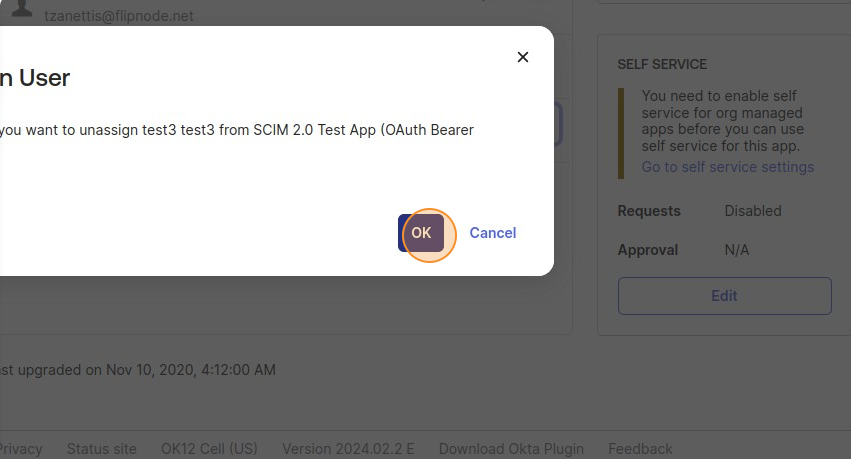
5. If you want to deprovision(delete) the user, design the user from the SCIM application.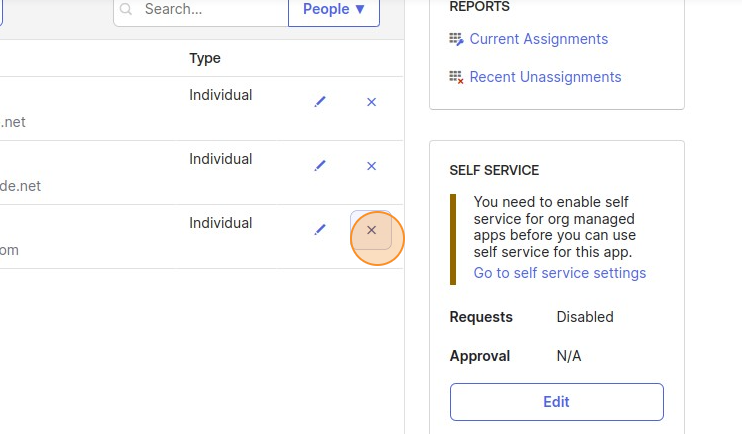
6. The user is de-provisioned