Table of Contents
Overview
Effective internal communication fosters engagement and collaboration in today’s dynamic work environments. That’s why we’re excited to introduce Viva Engage — a Premium app that enhances your communication efforts within your organization.
Viva Engage allows you to display the feed from your Viva Engage communities, including all types of posts: discussions, polls, praises, articles, and questions. Enhance your communication strategy with dynamic content, ensuring your team stays informed, engaged, and connected.
Available only on the Premium/Enterprise plan!
This app is only available on the “Premium/Enterprise” Plan. You might not see some menus below if you are not on the “Premium/Enterprise” Plan.
Display posts in Viva Engage
In Viva Engage, you can tailor your display content by selecting the specific Community Feed and the type of post you want to showcase. We support all post types, including discussions, questions, polls, praises, and articles, ensuring a dynamic and engaging digital signage experience.
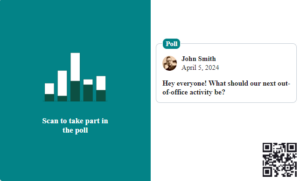
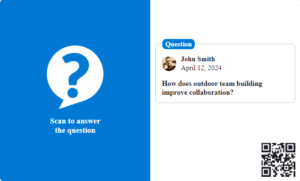
Each post in the Viva Engage app includes a QR code, enabling viewers to scan and directly access the original post. This feature allows users to view all attachments and interact with content through replies and reactions, enhancing interaction and keeping your team engaged.
We optimize the display specifically for digital signage for posts without images, GIFs, or videos. Here’s a quick guide on how these text-only posts will appear:


These visuals will be shown first when your posts include an image or GIF. Here’s what you need to know:

Display Priority:
The first image or GIF attached to your post is displayed prominently on the left, replacing our post graphics.
Adding Media:
You can upload images or GIFs directly from your PC to enhance your posts. Only media uploaded directly to Viva Engage will be supported.
Note on Attachments:
We cannot display images or GIFs attached from other Microsoft cloud locations, like SharePoint.
Creating a Viva Engage App
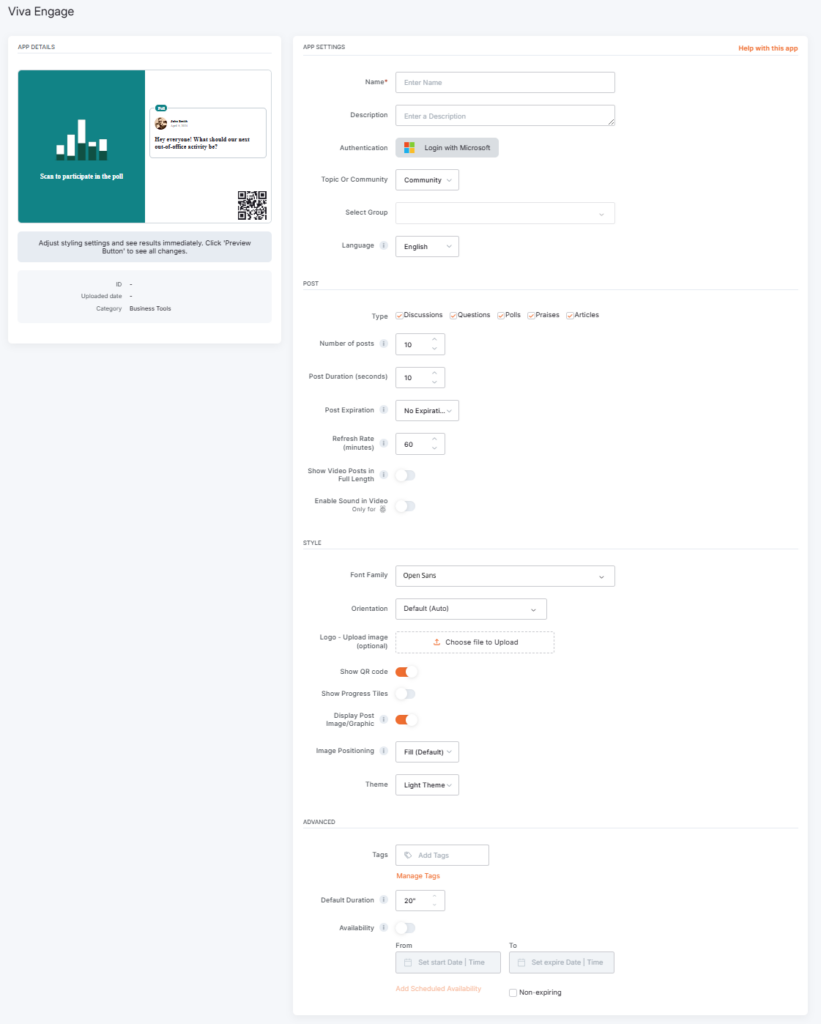
Setting Up Your Viva Engage App
- Assign a Name to your app. This is required to identify your app within the platform.
- Optionally, a Description can be added to give more context about what the app will display.
- From the Language drop-down menu, select your preferred language.
- Click the Login with Microsoft button to authenticate your Microsoft account securely.
After logging in:
- Select the appropriate Community using the dropdown menu to specify the source of your posts.
Under ‘Post’:
- Choose the types of posts you wish to display—Discussions, Questions, Polls, Articles or Praises.
- Determine the Number of posts to display on your signage.
- Set the Post Duration to control the visibility time for each post.
- Select a Refresh Rate to define how often your app fetches new content.
- Show Video Posts in Full Length, to display video posts entirely.
- ⚠️Available only for the Yodeck Players based on Raspberry Pi.
- Enable Sound In Video.
- ⚠️Available only for the Yodeck Players based on Raspberry Pi.
In the ‘Style’ section:
- Choose a Font Family to align with your branding and the orientation of your posts.
- Optionally, Upload a Logo to make your content more recognizable.
- Toggle options like Show QR Code and Show Progress Tiles to enhance the viewer’s experience.
- Display Post Image/Graphic if you wish to include visuals in your posts.
- Image Positioning: Choose how images should be positioned when displayed. Options such as ‘Fit’, ‘Fill’ control how images adapt to different screen sizes, ensuring they always look their best on your digital signage.
- Choose a Theme to apply a pre-designed color scheme that fits your brand or content tone.
Under ‘Advanced’:
- Set a Default Duration for the app’s presence in the playlist.
- Manage Availability by selecting ‘From’ and ‘To’ dates to schedule when the app is active. See more details about media availability.
F.A.Q.s
Got questions? We’ve got answers! This section addresses common questions about the Viva Engage app.
– Only Yodeck’s built-in text is translated. This includes: labels, headings, and any text generated directly by the Yodeck app.
– Content coming from external platforms or APIs is not translated by Yodeck. This includes:
Data retrieved from external services (e.g., quotes, calendar events), posts or media from social platforms, text or metadata supplied by the API source, and system messages generated by external platforms.
Need Help?
The Yodeck Support Team can help you out! Log in to your Yodeck account and send us a message from the bottom right corner!