How to connect the player to a wireless network
How to connect the player to a wireless network
Please follow the steps below to connect your player to your wireless network. Also, check this quick setup guide for more details.
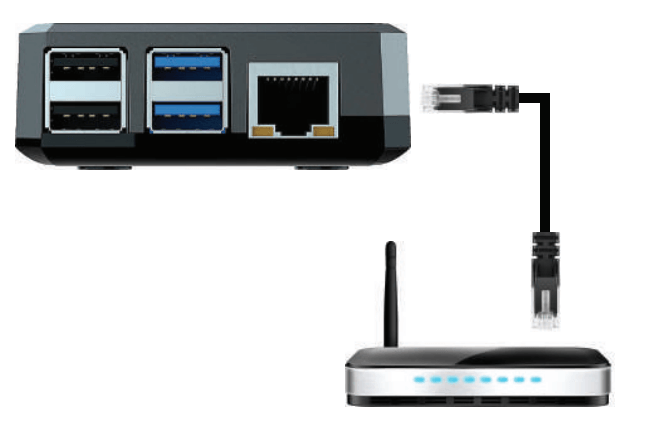
1. Connect the Yodeck Player to your router with an Ethernet(LAN) cable.
💡One end must be connected to the Yodeck player and the other to your router/switch.
2. When the player appears online in your dashboard, enter your wireless network’s WiFi credentials in the Yodeck Portal and, more specifically, in the Network Tab.
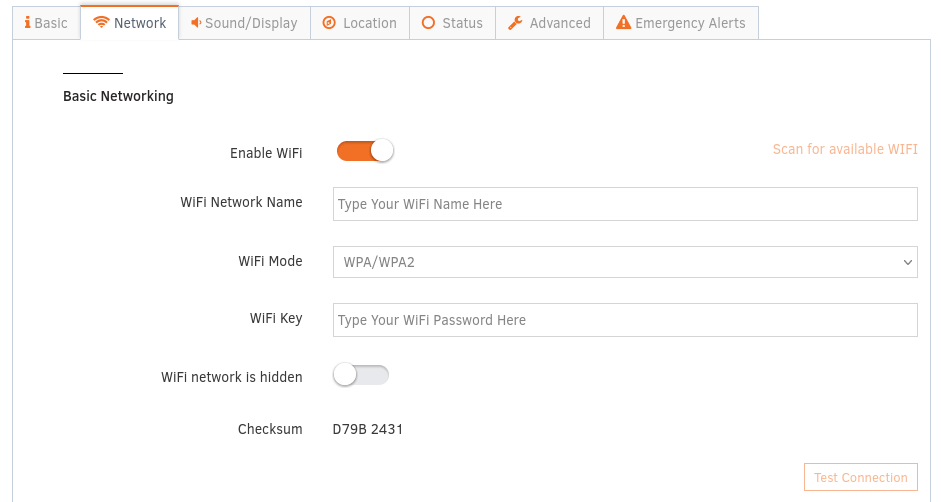
3. If unsure of the WiFi network’s name, click the “Scan for available WiFi” button and wait for the player to scan. A dropdown list will display the available scanned WiFi networks.
💡If the WiFi network is hidden, it won’t get detected.
4. Select the WiFi mode.
💡For simple WiFi networks with a username and password, select the WPA/WPA2 option.
5. Type the WiFi password. If you are unsure you have entered the correct password, click the “Test Connection” button and wait for the player to attempt to connect.
6. After clicking “Save”, a blinking message “Configuring” will display at the bottom right of your screen for about 1-2 minutes.
💡Please do not unplug or reboot the player in this state. You can safely remove the Ethernet cable when the message disappears from your screen.
7. Unplug the Ethernet cable and make some content changes to ensure the player responds to the new changes via your wireless network.