Table of Contents
First things First
To enable SCIM in the Yodeck app, first, you have to enable successfully SSO.
Also, you should log in to your account as an Account Owner.
This guide describes the process of enabling SSO for SCIM.
Enable SCIM
- Navigate to https://yodeck-dev.onelogin.com/admin2
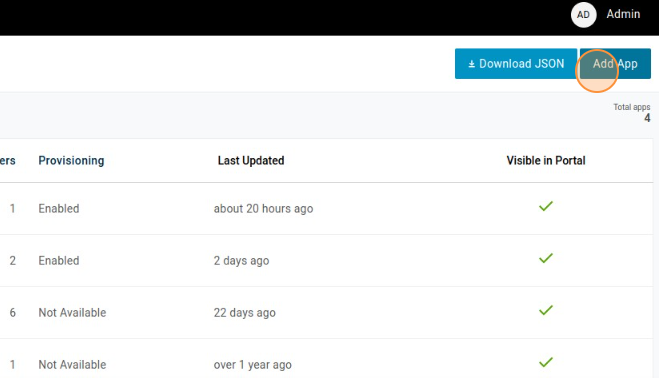
- Click “Applications”

- Click “Add App”
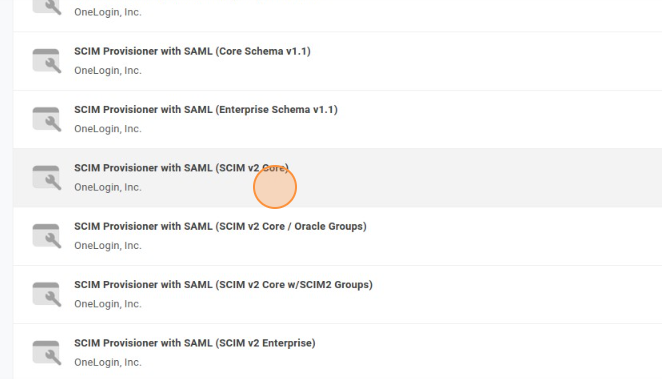
- Search and select “SCIM Provisioner with SAML (SCIM v2 Core)” and Click Save
- Switch to your Yodeck account
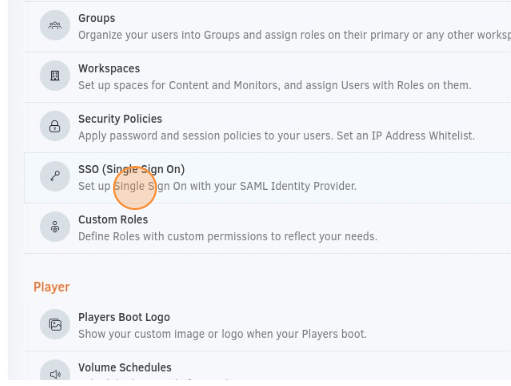
- Navigate to your account settings

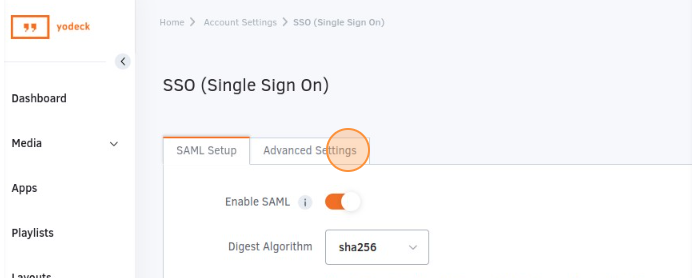
- Click “SSO (Single Sign On)”
- Click “Advanced Settings” Tab
- Turn on Deprovision using SCIM
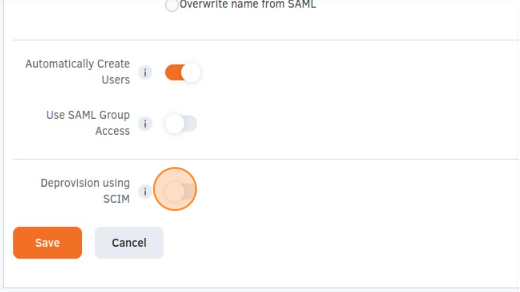
- Generate your secret token and click save
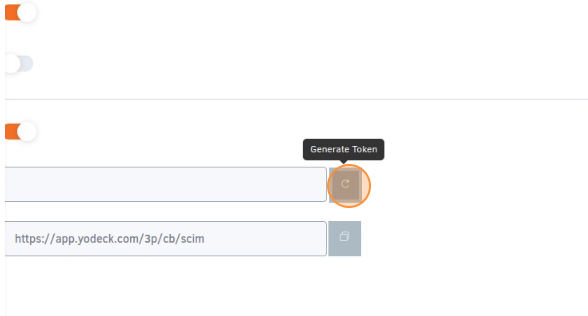
- Go again into the SSO and copy the secret token and identifier URL
- Navigate again to your OneLogin account inside your SCIM app configuration tab
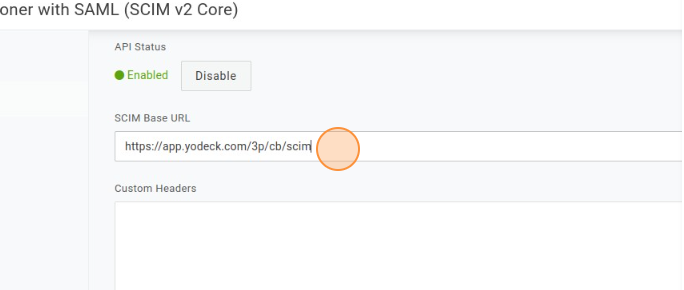
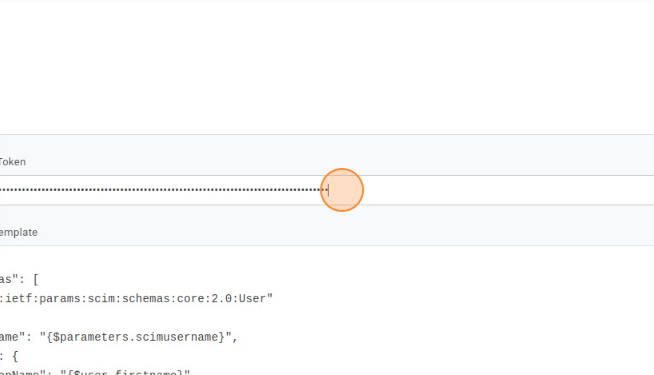
- Paste the identifier URL
- Paste your secret token
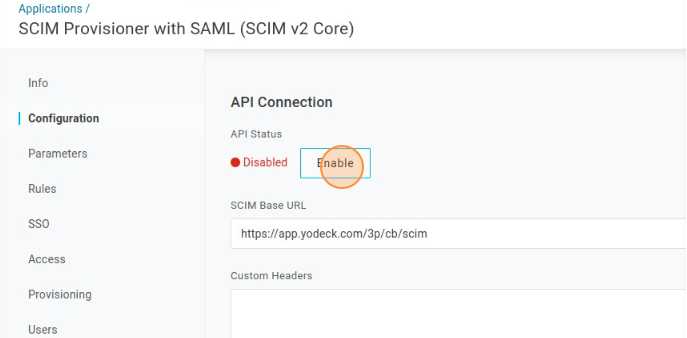
- Enable API and hit save.
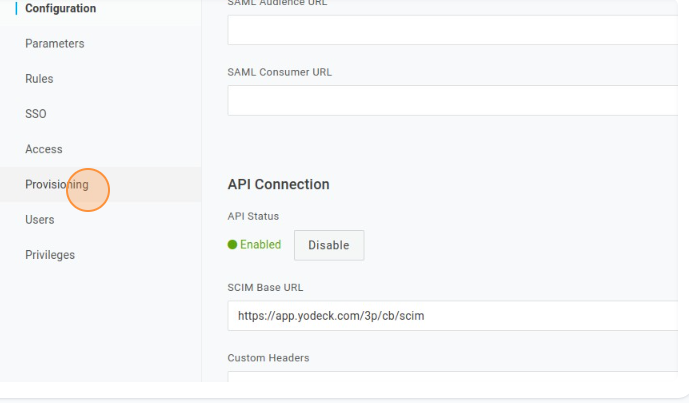
- Click “Provisioning”
- Disable all approval actions.
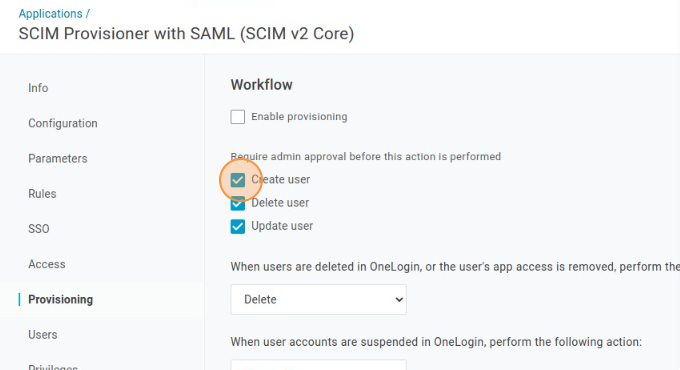
- Enable provisioning
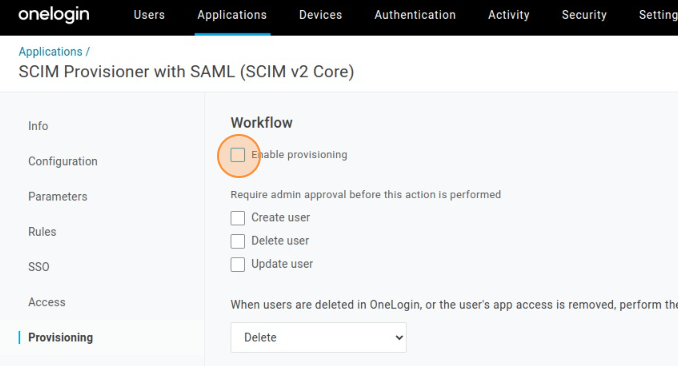
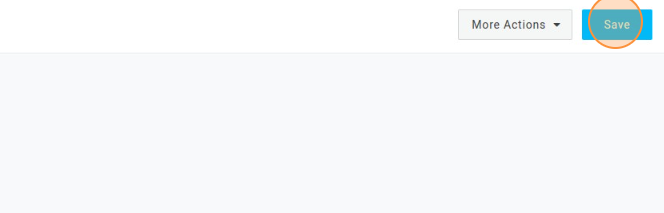
- Click save
User provisioning/de-provisioning
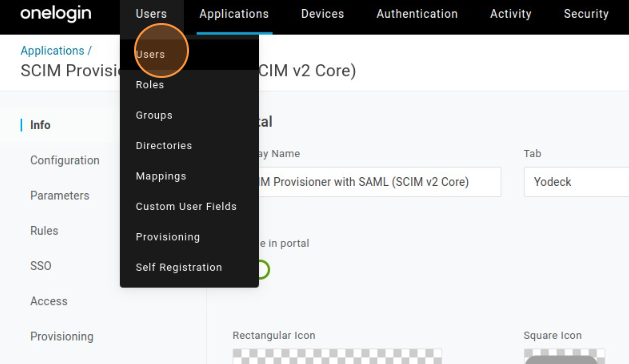
- To start provisioning/deprovisioning. Go to “Users” tab
- Select the user you want to provision.

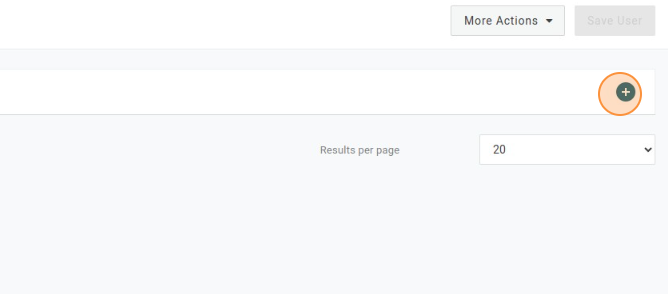
- Go to the Applications tab
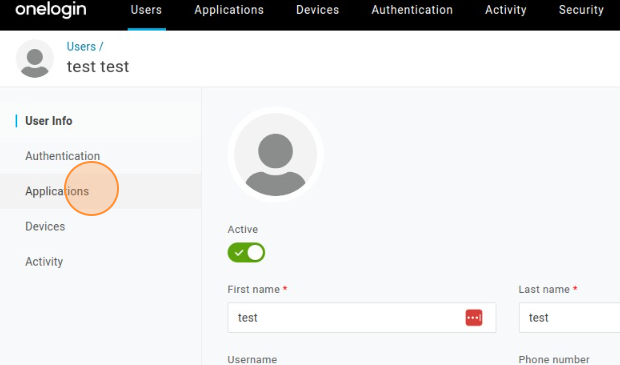
- Click to + icon to assign him to an application
- Select the SCIM application and click continue
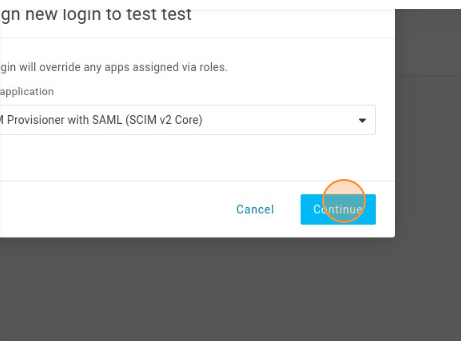
- Clicking save, the user will be provisioned
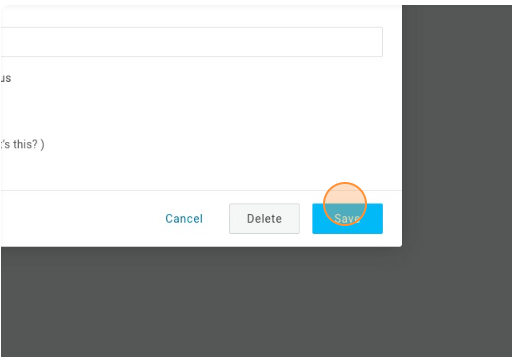
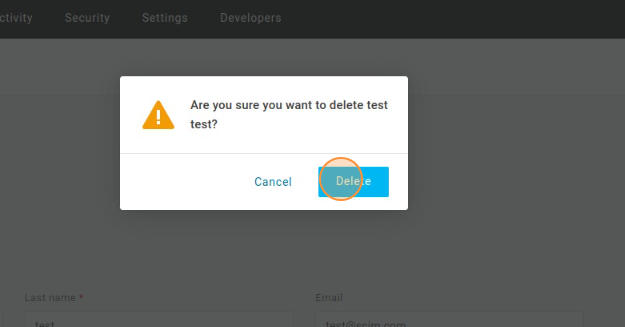
- In order to de-provision the user, you have just to delete him from OneLogin

- Clicking “delete”, user will be deleted from the Yodeck application as well