Step-by-step procedure
Yodeck player based on Raspberry Pi
⚠️This section is available only for players based on Raspberry Pi. For other player types, this section won’t be displayed at all. Learn about the Raspberry Pi-based Yodeck Player.
- Download and Install Putty or a similar SSH program.
- Enable the “Allow SSH on the LAN” option on your player’s Advanced Security settings and click “Save“.
- Wait for the player to finish the Configuration first. An active message, “Configuring,” will be displayed on the bottom right side of your screen.
- When this message disappears, continue with the steps below.
- To find the IP of your Yodeck device:
- Log in to your Yodeck Account.
- Go to the Screens Section and click on the “edit” button.
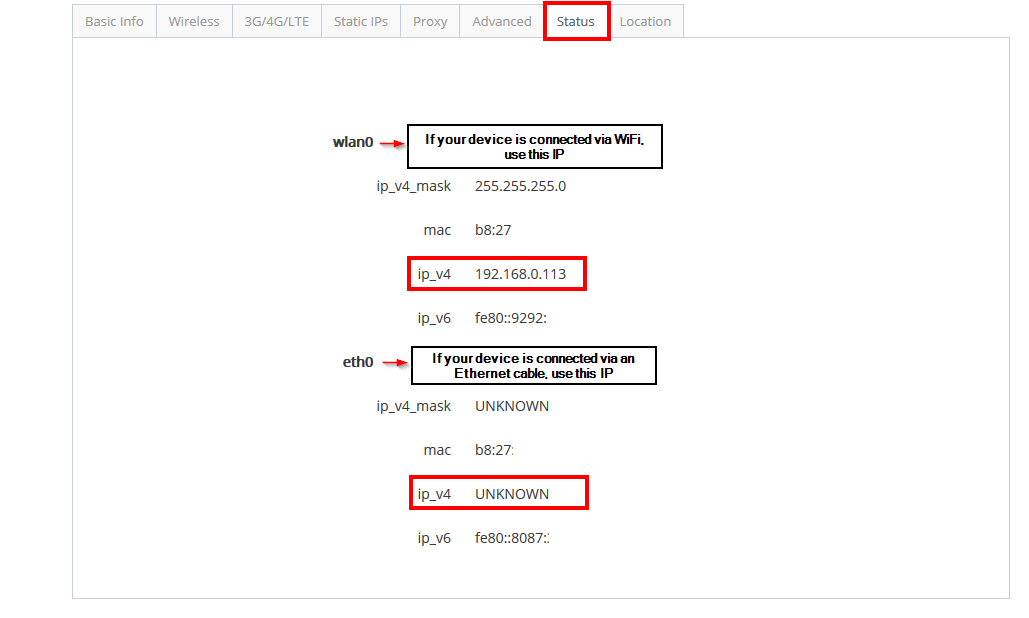
- Go to the “Status” tab and locate the IP of your Yodeck device.
Example Image with dummy settings:
We use the Putty program, a free and open-source terminal emulator, serial console, and network file transfer application for this example. It supports several network protocols, including SCP, SSH, and Telnet.
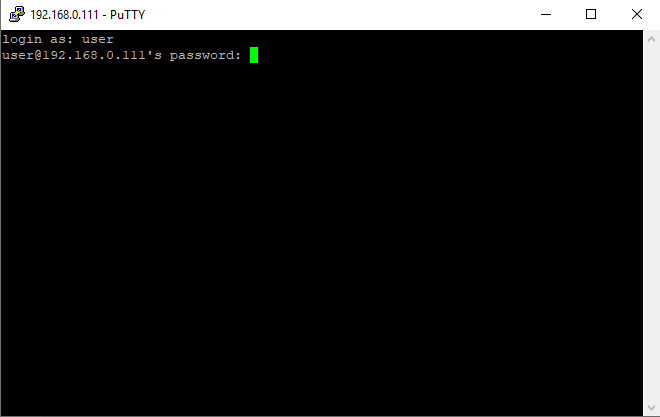
- Type the IP of your Yodeck device, as shown below.
- Click Open to gain remote access.

- Then, in the request, login as “user” and press Enter on your keyboard.
- The Player’s SSH password will be requested. The password can be found in the Yodeck Portal, under the Screens Section, by clicking the “Advanced –> Security tab”.
- Type the password prompted as “Wifi Wizard / Remote Support Password”.
Hashed password If the password is of this form “*****”, the password is hashed for security reasons. Do not copy-paste this text. You have to type the not-hashed password that you set earlier.- ⚠️If you do not remember the password you have set, retype it and click “Save.” The player needs to be Online to get the new password. You will notice a Configuring message at the bottom of your screen. After that message disappears, try to SSH the device again with your new password.

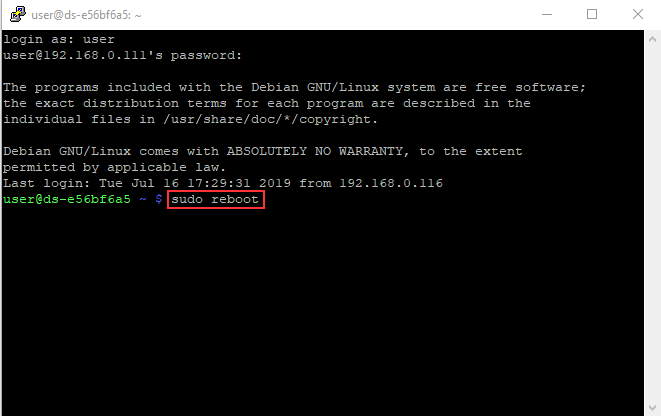
- Upon completing this, you should see the image below.
- Type sudo and any command and fill out the same password again.