Table of Contents
Ways to reflash a Yodeck Player
There are two different ways to reflash a Yodeck player:
The Etcher method
The USB method (Recommended)
Reflashing the SD card using the Etcher program
Step-by-step procedure:
- Download the latest Yodeck SD card image zip file (about 1.1GB).
- Unzip the zip file you downloaded and save the unzipped image file on your hard drive.
- 💡It should be a single IMG file of about 3.2GB.
- 💡It should be a single IMG file of about 3.2GB.
- Download Etcher and install it. Etcher is an SD card image writing/verification tool that works on Windows, Mac, and Linux.
- 💡If Etcher, for some reason, fails, you can use the Pi Imager instead.
- 💡If Etcher, for some reason, fails, you can use the Pi Imager instead.
- Power off the player, remove the SD card from the Yodeck Player, insert it into your SD card reader, and then into your PC or laptop.
- 💡If any windows pop up on your screen upon placing the SD card on your PC or laptop, ignore and close all of them.
- 💡If any windows pop up on your screen upon placing the SD card on your PC or laptop, ignore and close all of them.
- Run Etcher, select the unzipped Yodeck image file from your hard drive, select the SD card to write the image to, and then click the “Flash!” button.
- After completing Etcher, you will be prompted to remove the SD card. Remove the SD card and place it back into the Yodeck player.
- Connect your Yodeck Player via HDMI to your TV/Monitor and connect it with an Ethernet cable.
- 💡If you don’t have an Ethernet cable and want to use a WiFi connection, please follow this guide.
- 💡If you don’t have an Ethernet cable and want to use a WiFi connection, please follow this guide.
- Power up the Yodeck Player and wait for the initialization process to complete. It may take up to 5′ to finish.
- Upon completion, you should see a message on the screen connected to the Pi, showing either a Registration Code or a message with a connectivity error (in case there is no Internet access).
- Ensure you do not remove the Yodeck player’s power plug until you see one of these message screens. At all times, if the player is showing a blinking message in the bottom-right corner of the screen (“Loading,” “Configuring,” “Downloading,” etc.), you should not remove power to minimize the risk of interrupting a critical procedure.
After completing the above procedure, your player should recover, connect to the Internet, and download content. Eventually, it will begin to play back!
Reflashing the SD card using the USB method (Recommended)
The player is resilient to hardware and system failures. But, as with any device, there is a slight chance that the player may fail. In the case of a software failure, you might be able to recover your player by “reflashing” it with the latest software. Reflashing will erase the player’s content (re-writing the whole SD card from scratch). Your settings will be retained, so your player should re-apply all settings in the system, re-download all required content, and resume playback without you doing anything.
If you are an advanced user, remember that the only thing retained from the existing content is the “SETTINGS.txt” file containing all settings. Any manual changes you made to the image through the command line will be lost ( e.g., manually changing passwords, config.txt manually, adding other software, etc.).
Preparing the USB flash drive
To perform this procedure, you will need a USB flash drive.
Here are the requirements and some info on this:
- It would be best to use a FAT32-formatted flash drive (most USB flash drives are, by default, formatted as FAT32).
- 💡ext2/3/4 also works, and NTFS might also work.
- 💡The Yodeck Player does not change anything on the flash drive, so you can leave any other files on the stick.
- Download the latest Yodeck SD card image zip file (about 1.1GB).
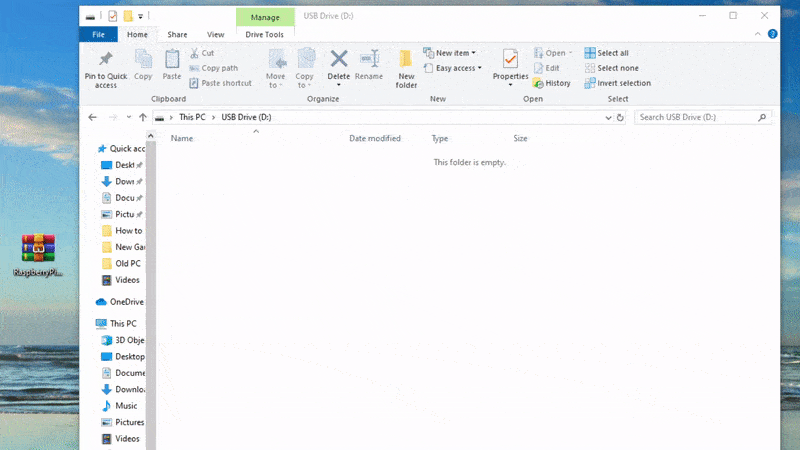
- ⚠️DO NOT RENAME OR EXTRACT THE ZIP FILE! Copy it (as is) into the base folder of the USB flash drive, as shown below.

IMPORTANT
Some flash drives may not work correctly. During startup, the USB flash drive might not start quickly enough, so it might not be functional within the first seconds of the startup procedure, so Yodeck cannot detect it. This case is detailed below. If that is the case with your flash drive, try a flash drive of a different make/model and find one that works.
Reflashing your Player
After you have prepared a USB flash drive, follow these instructions to recover your player:
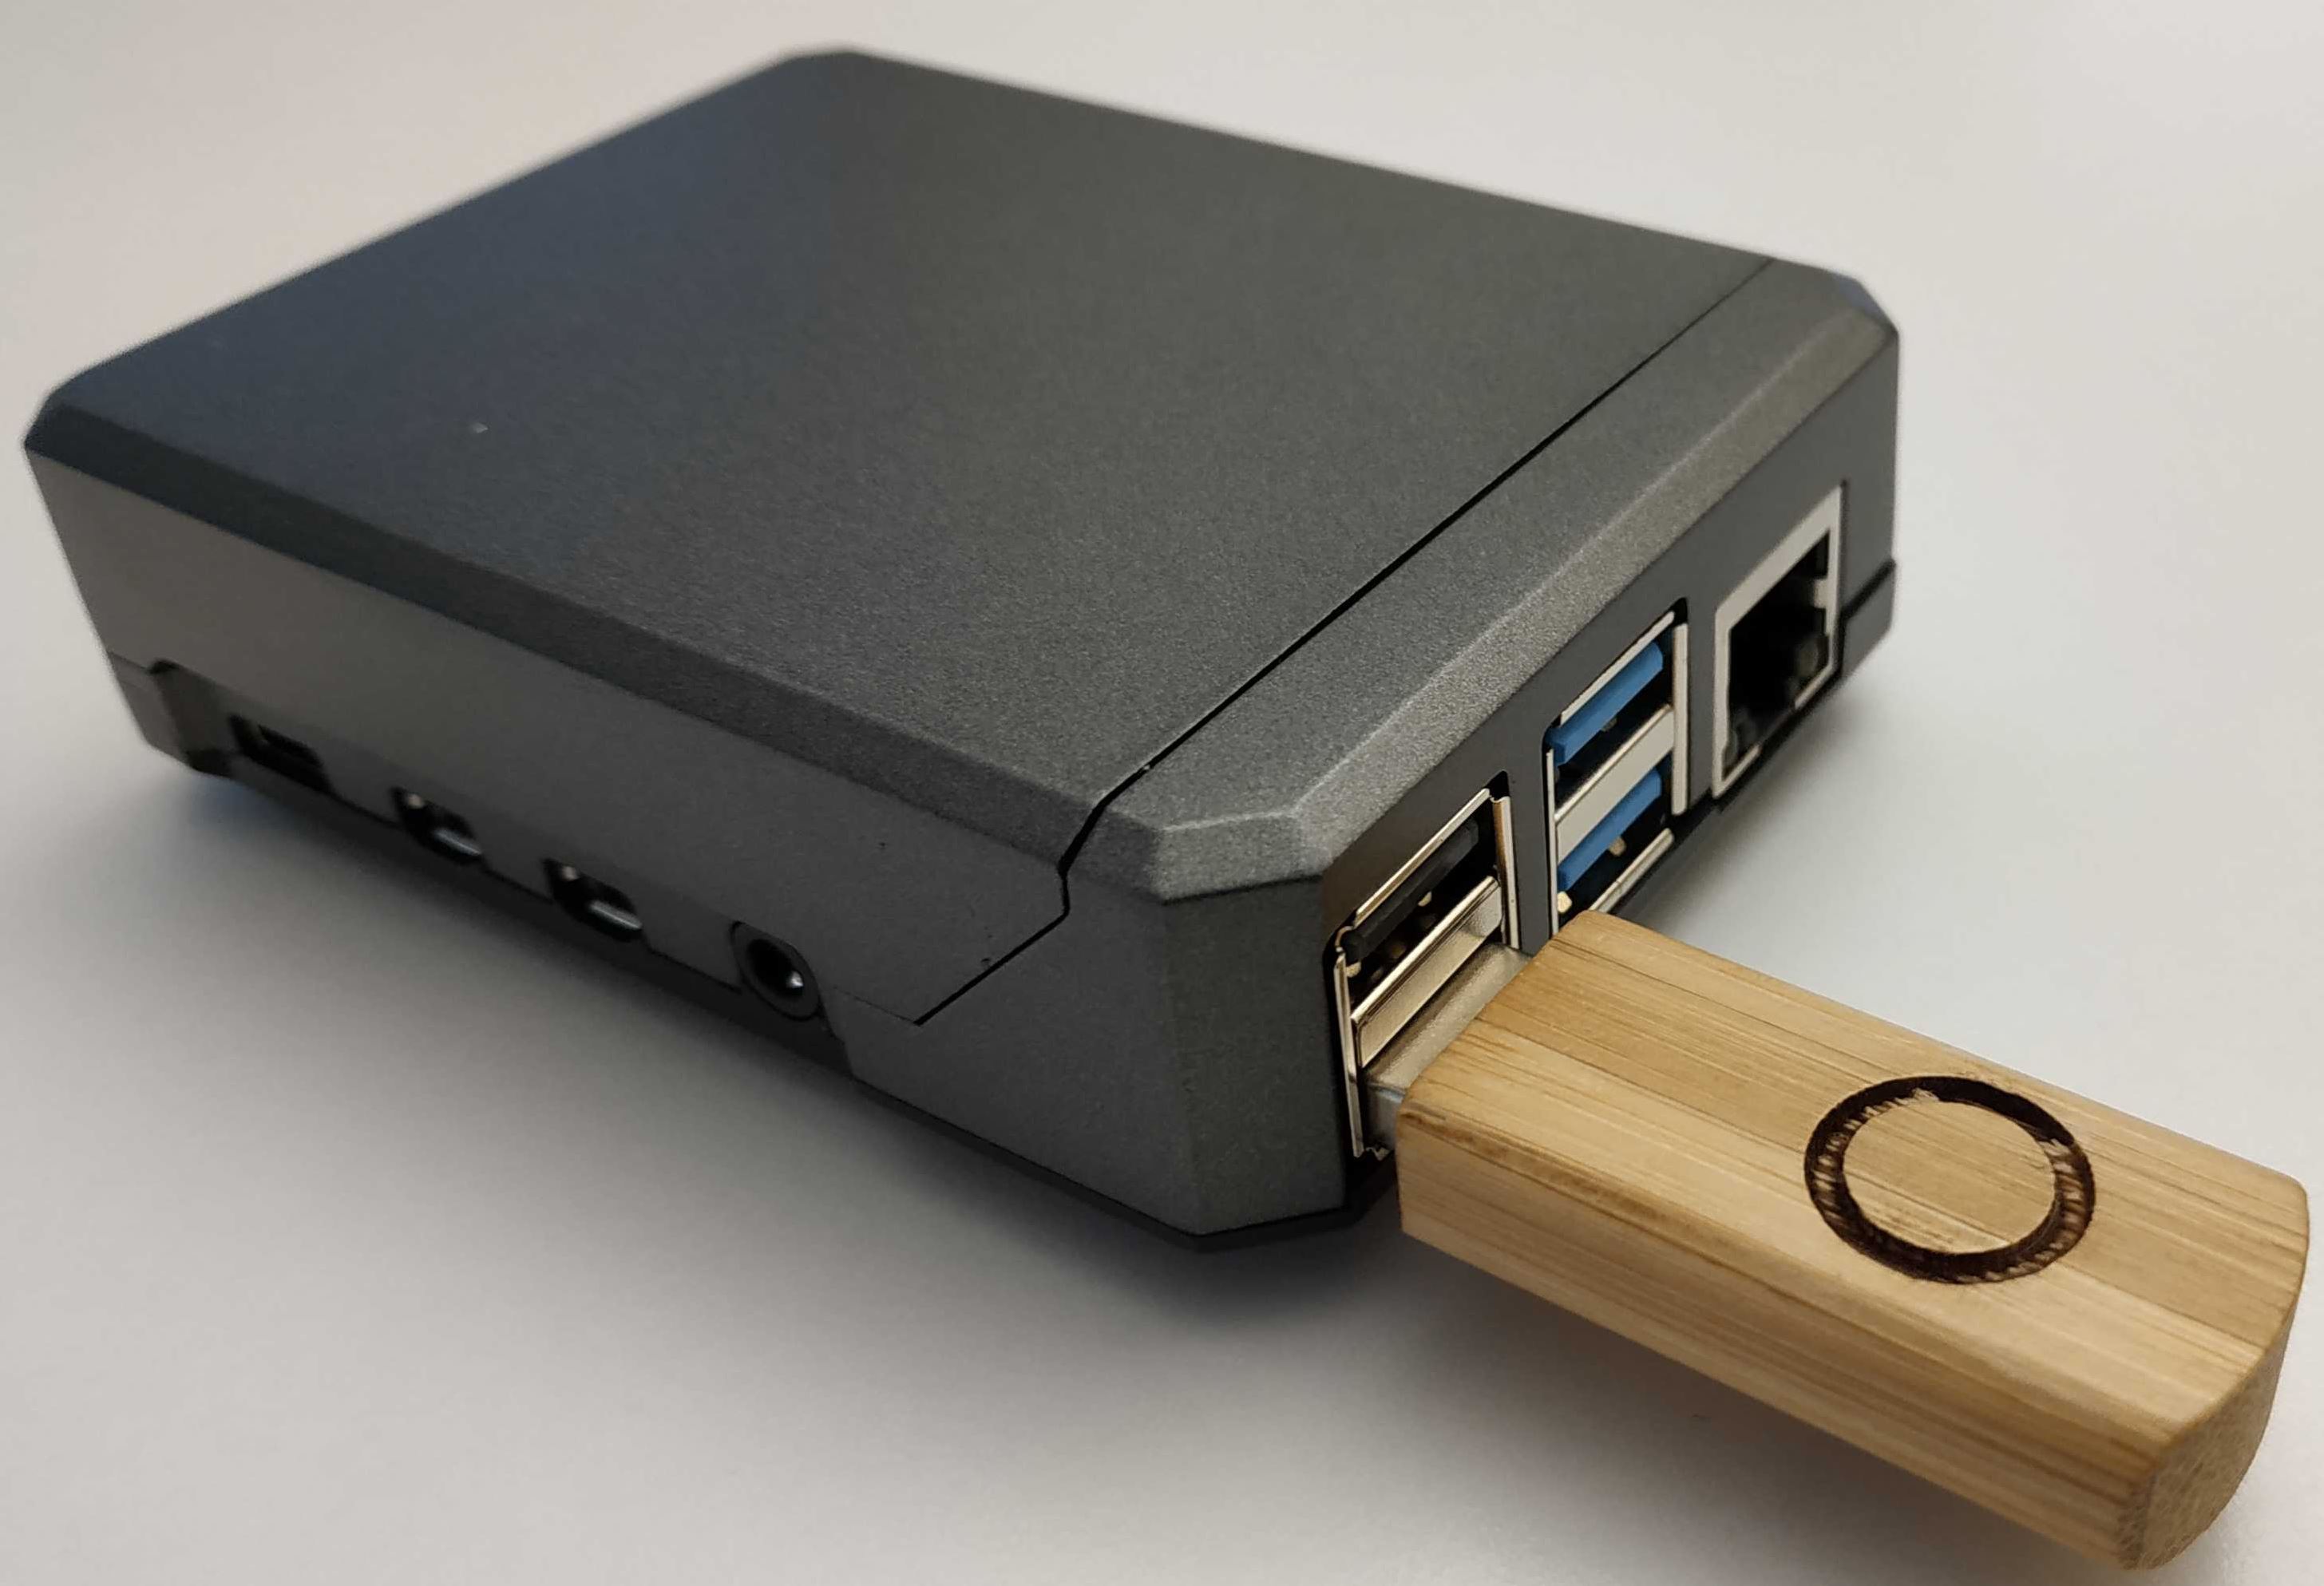
- Plug the USB flash drive you prepared using the above steps into any of the player’s 4 USB ports.

- Power up (or reboot) the Player.
- Upon startup and before showing the Yodeck logo, the player always displays a message saying “Searching for USB drives…” while searching for the flash drive.
- The player will find the flash drive, which should display a message saying, “USB drive detected.”
- If the player does not show the “USB drive detected” message, you must use a different USB flash drive because it cannot detect the flash drive you used.
- The verification and writing procedure should start if you have prepared the USB flash drive correctly. If you get error messages, check that you have properly prepared the drive.
- At this point,
- ⚠️DO NOT REMOVE POWER FROM YOUR PLAYER!
- ⚠️DO NOT REMOVE THE USB DRIVE! Allow the procedure to be completed in at least 30 minutes.
- When the procedure has been completed, you will be prompted to remove the USB drive. Once you remove it, the player will automatically reboot. After reboot, the player will re-apply all retained settings in the system.
- The software might also need to be updated online, so do not unplug the player to ensure everything is completed smoothly.
- Please allow enough time for it to perform all the necessary initialization procedures. Allow at least 15-20 minutes before worrying if nothing comes up.
After completing the procedure, your player should recover, connect to the Internet, and download content. Eventually, it will begin to play back!
How-To Video
Security Notice
For the advanced IT security-aware readers:
Yodeck Player Image files are digitally signed. The ZIP files contain information that verifies that Yodeck issued the specific SD card image. You cannot perform this procedure with an arbitrary image file, so an attacker cannot inject their code into the system just by plugging in a USB drive and rebooting.