Table of Contents
Overview
If you have a Yodeck Enterprise account, you can set up a single sign-on using Active Directory Federation Services (AD FS).
To use AD FS to log in to your Yodeck account, you must meet the following requirements:
- All users in your Active Directory instance must have an E-mail Address to Name ID claim or an email address attribute.
- You have a server running Microsoft Server 2012, 2016, or 2019.
Please note: this setup process should be done by an IT administrator with experience creating applications in your identity provider account.
Add Yodeck as a Relying Party Trust
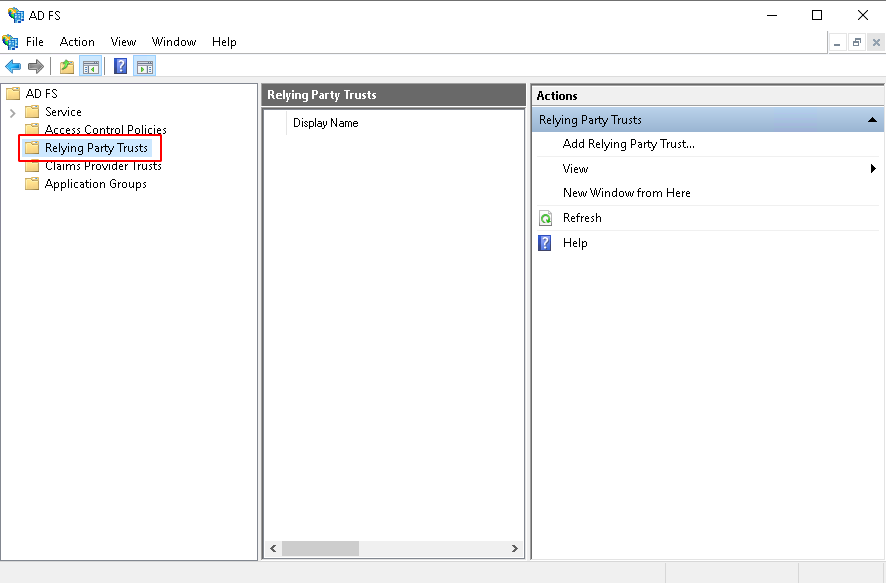
- Navigate to your AD FS Management tool, then open the Trust Relationships folder in the left sidebar.
- Within the Trust Relationships folder, open the Relying Party Trusts folder.
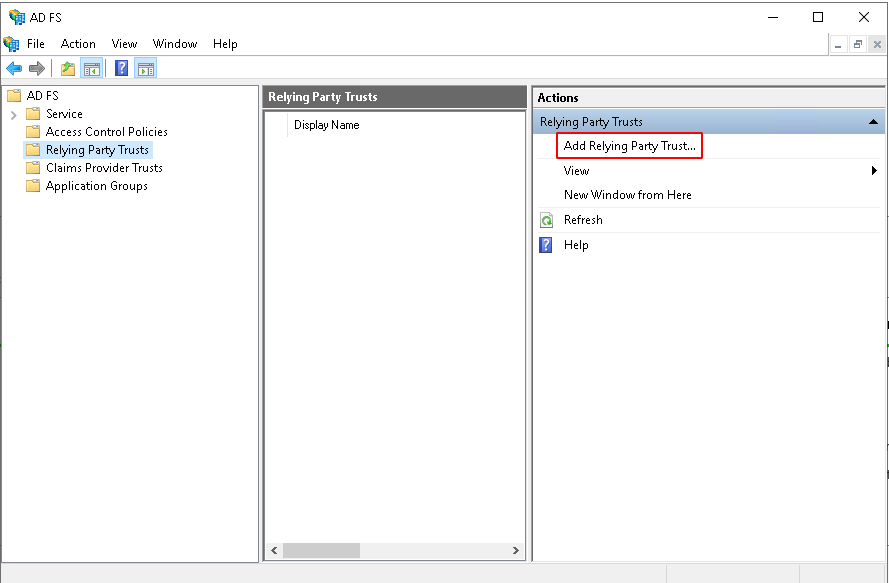
- Click Add Relying Party Trusts under the Actions bar on the right side of the screen. This will open the Add Relying Party Trust Wizard.
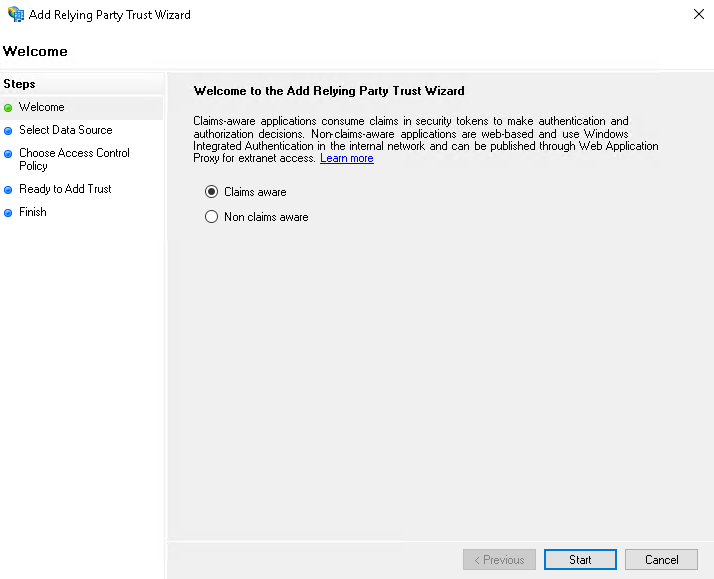
- On the Welcome page, leave the default Claims aware option selected and click Start.
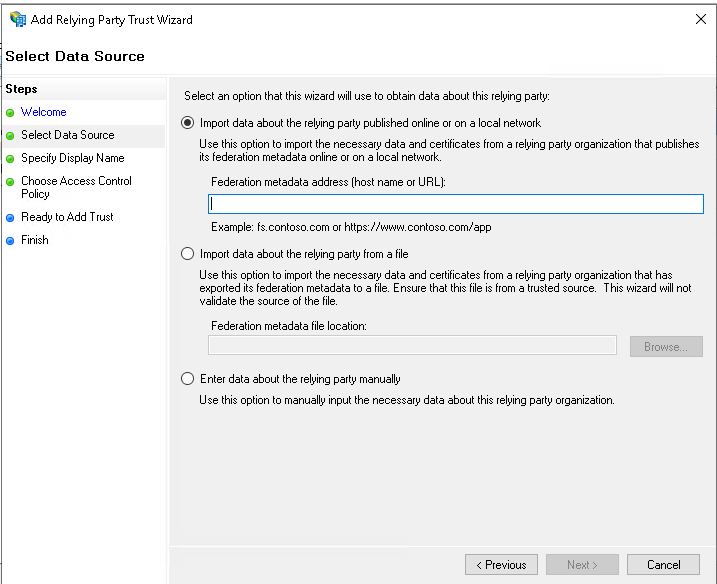
- On the Select Data Source page, select Import data about the relying party published online or on a local network. Use the Yodeck metadata URL and click Next .
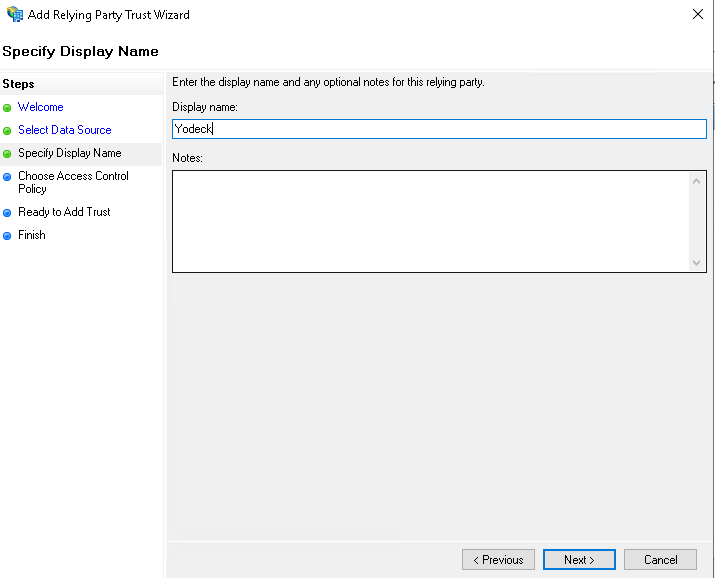
- Enter Yodeck in the Display Name field, and add any additional notes that you would like.
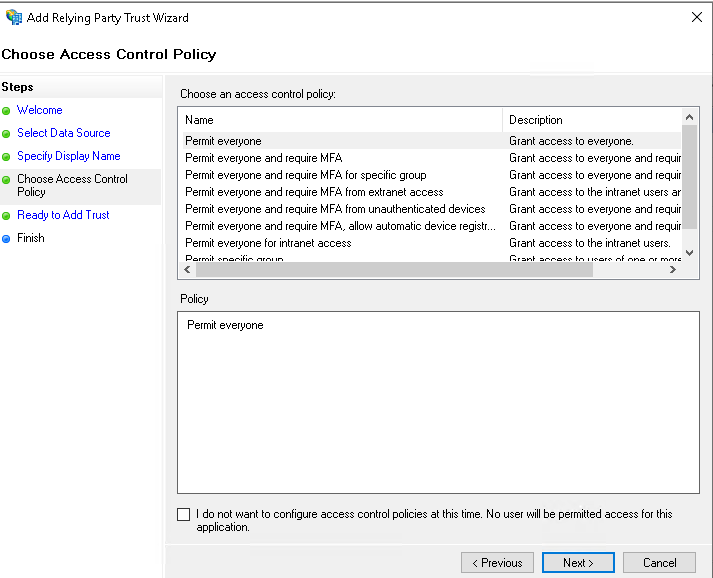
- On the Choose Access Control Policy, select your preferred policy (ex Permit everyone, Permit specific group) and click Next.
-
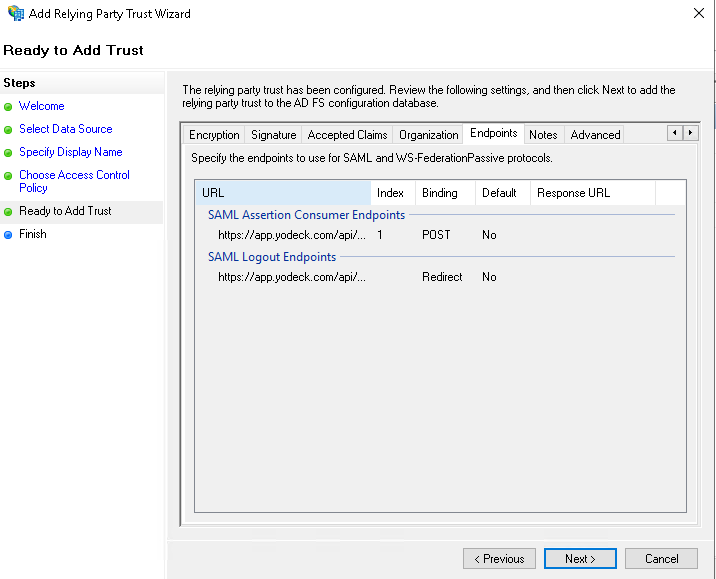
- On the Ready to Add Trust page, click Next without making any changes.
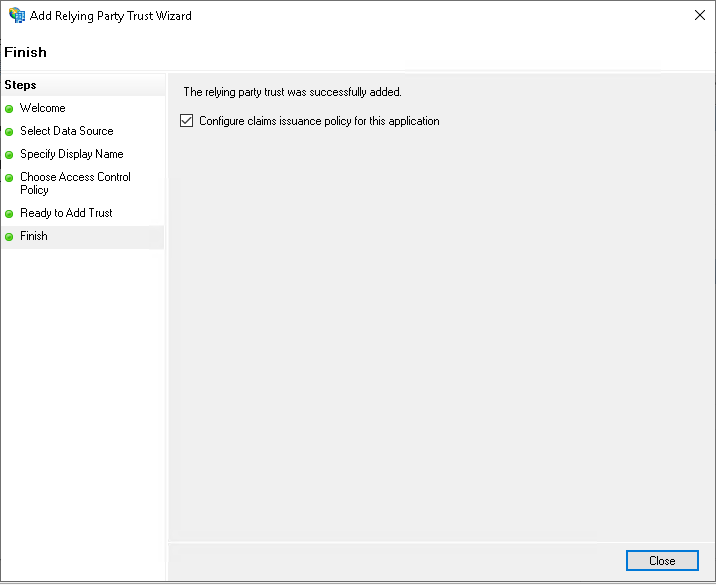
- On the next page, make sure the box is checked next to Open the Edit Claim Rules dialog for this relying party trust when the wizard closes. Click Close when finished.
Create Claim Rules for Yodeck
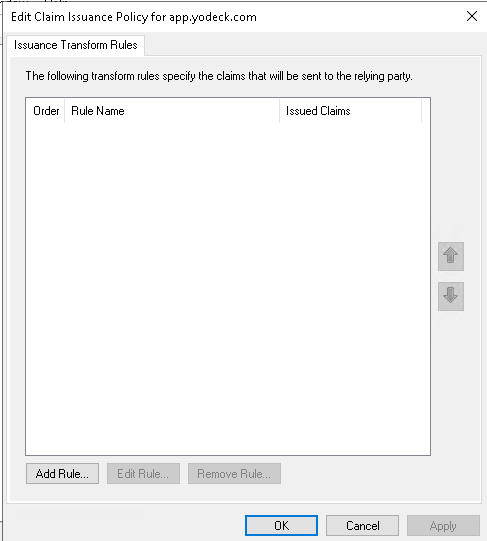
- Closing the Add Relying Party Trust Wizard will automatically open the Edit Claim Rules Wizard for Yodeck. Here, you will configure the attributes that AD FS will send to Yodeck. Click Add Rule .
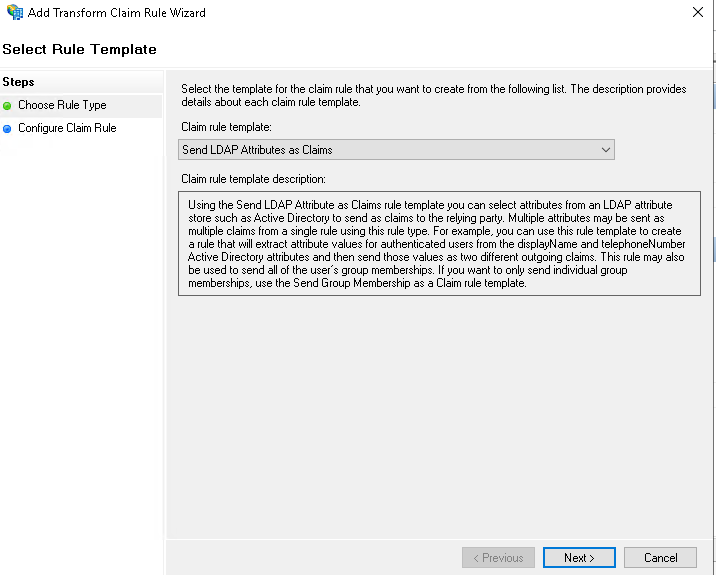
- Select Send LDAP Attributes as Claims from the dropdown menu.
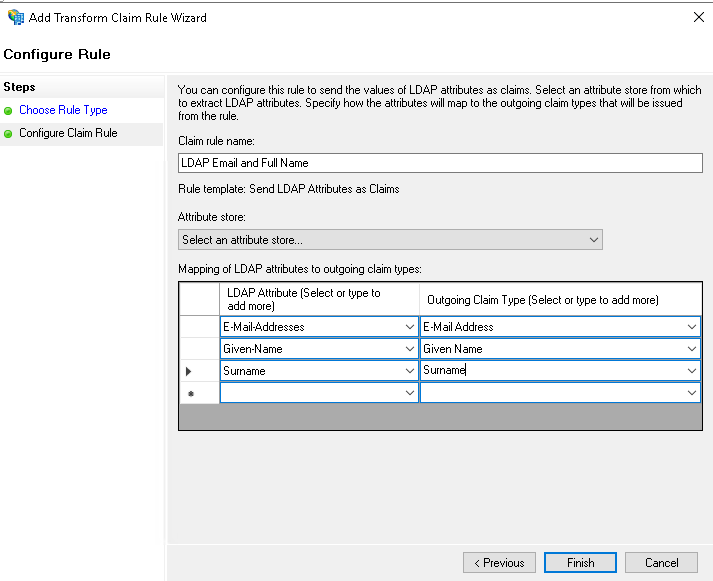
- Name the claim rule LDAP Email and Full Name and select the Active Directory attribute store. Then, add the following rules:Select E-Mail-Addresses in the LDAP Attribute column. Select E-Mail Address in the Outgoing Claim Type column.
Select Given-Name in the LDAP Attribute column. Type Given Name into the Outgoing Claim Type column.
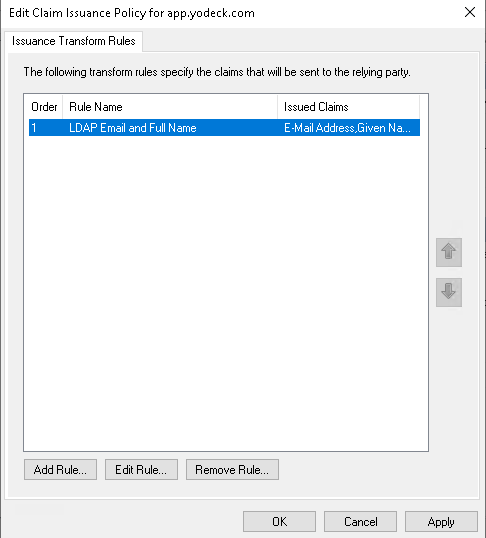
Select Surname in the LDAP Attribute column. Type Surname into the Outgoing Claim Type column. - You will now see the new rule in your list of claim rules for Yodeck. Click Add Rule to add the next rule.
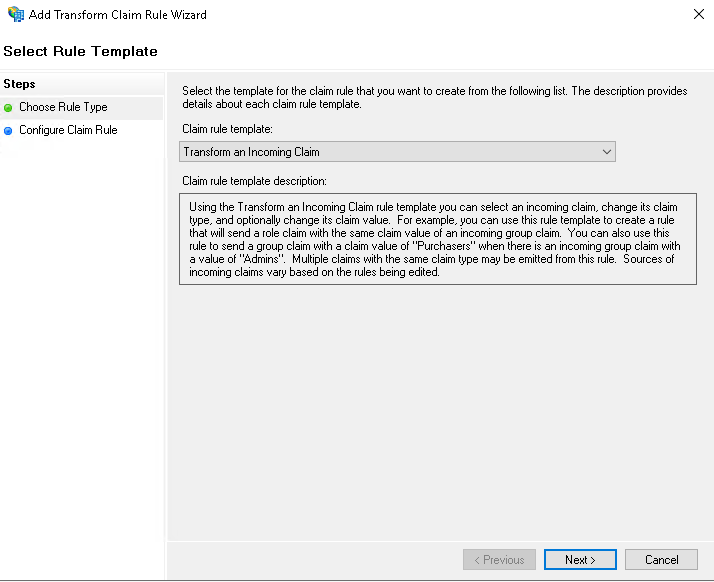
- Select Transform an Incoming Claim from the dropdown menu.
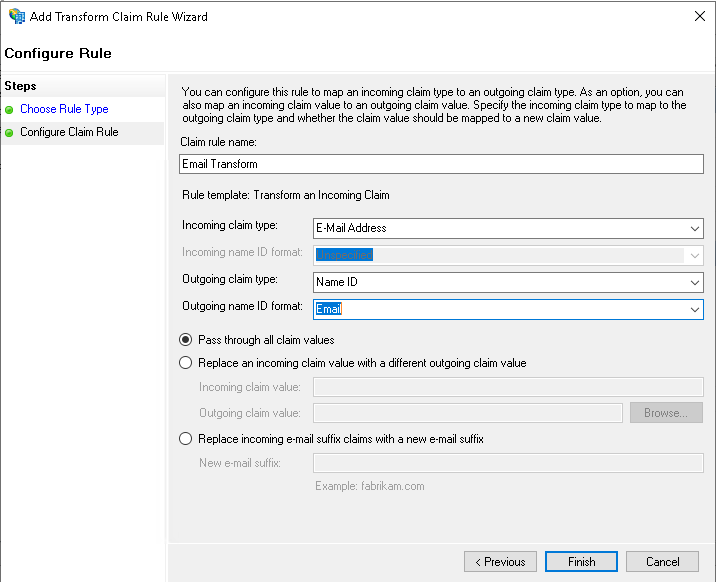
- Configure the following on the next page: Name the claim rule, Email Transform
Set the Incoming claim type to E-Mail Address
Set the Outgoing claim type to Name ID
Set the Outgoing name ID format to Email
Select Pass through all claim values - You will now see both of your new rules in the list of claim rules for Yodeck. Click Apply and OK to close the Wizard.
You’re now ready to test your ADFS configuration
- Log in to your Yodeck account.
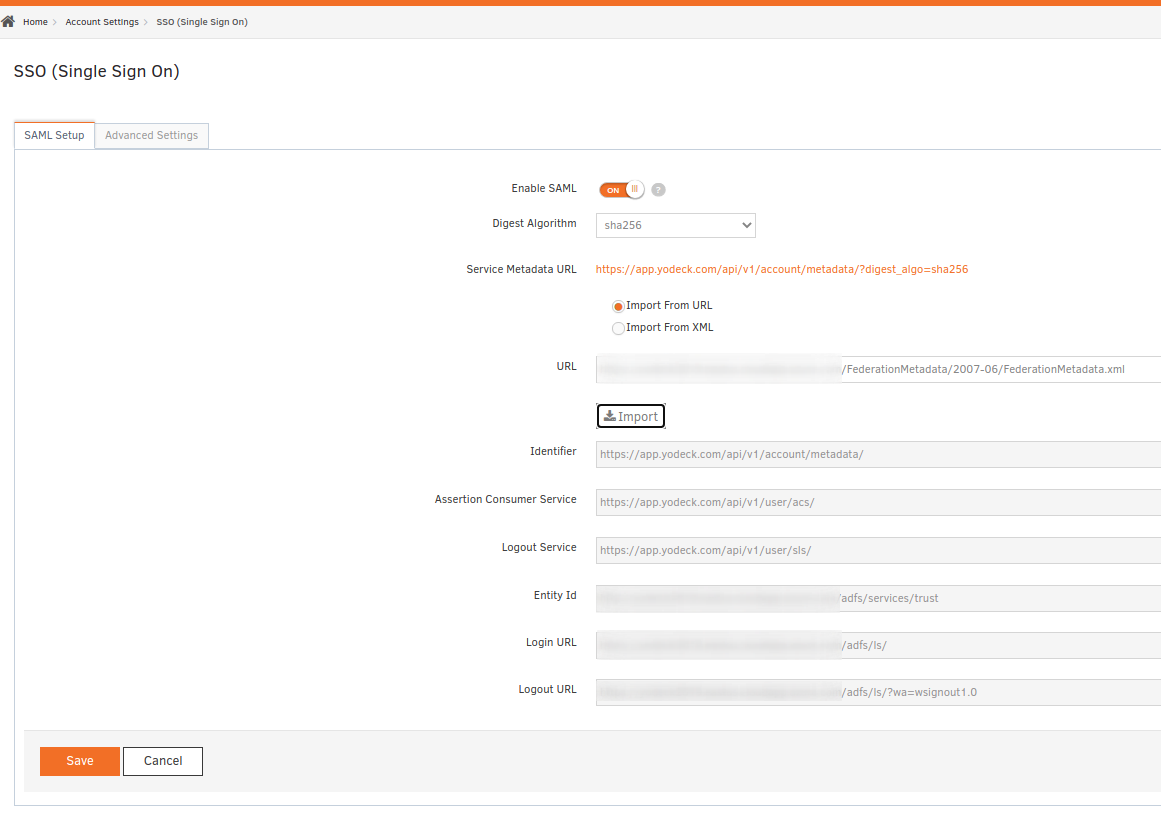
- Navigate to Account Settings → SSO
- Select Import from URL and use your ADFS metadata URL ( https://yourdomain/FederationMetadata/2007-06/FederationMetadata.xml ). There is a long dash in the federation metadata URL, be careful with that.
- Click Save to test Single Sign-On Configuration. SSO will be enabled if everything is correctly configured.
AD FS Troubleshooting – Events and Logging
Click the above link if you face issues with the specific setup, or send us an email at support@yodeck.com, and we will help you right away.