Media Management FAQs
Do you support Vimeo videos?
Of course, we do!
Vimeo is a video hosting, sharing, and services platform provider. Vimeo focuses on the delivery of high-definition video across a range of devices.
✅ Kindly check this article here for more details and how to add a Vimeo video.
How to set up an HDMI video feed input or connect a USB camera (Video Input)
Learn how to display a live video feed in Yodeck by connecting an HDMI source or a USB camera to a compatible Yodeck player. This feature allows you to show live TV, set-top box output, or camera feeds on your screens alongside your digital signage content.
In the full article, you’ll see how to connect supported HDMI capture devices or USB cameras to a Raspberry Pi–based Yodeck Player, how to configure a Video Input from the Media section, and how to assign the live feed to a screen or playlist. The guide also covers hardware requirements, recommended devices, and common troubleshooting scenarios.
Live Video Streaming Support
The Yodeck Raspberry Player supports IP Video Streaming from several websites and custom streams through different protocols.
Streaming Sites and Protocols Supported
Under the hood, we use an awesome software called Streamlink. It currently supports:
several streaming protocols, including HLS and HLS variants, HTTP, RTMP, RTSP and others
a large list of live video streaming sites, like YouTube Live streams, UStream streams, DailyMotion, and others
💡Note that some of these sites also provide Video on Demand (VOD), and some might not work correctly. If you want to add a simple YouTube video (not a live stream), you should not use the “Live Video Streaming” option when creating the video entry in the Yodeck Portal.
IMPORTANT: The Yodeck Raspberry Player does not yet support automatically selecting streams based on available bandwidth. So, even if the streaming site’s stream provides multiple resolutions or quality levels (bitrates), the Raspberry Player will only select the highest possible level. We will soon support selecting a quality level between “worst,” “medium,” and “best.”
How to add a Live Video Streaming Site
If you select to create Live Video Streaming, you will be presented with a text field asking for the video’s URL. Just paste the link from the site in that field. For example, here is the video link from a live stream on YouTube:
ℹ️ Copy and paste this address, for example, (https://www.youtube.com/watch?v=gvpXSDt5MbI) into the text field when creating a Live Video Streaming entry in Yodeck.
How to add a Live Video Streaming URL (e.g. HLS)
💡 Note that this is an advanced use of the Live Video Streaming feature. If you need help, you can contact our Support Team.
Specifying the Video Stream URL
If you select to create a Live Video Streaming, you will be presented with a text field asking for the URL of the video stream. You must put the exact stream URL, prep ended with the protocol prefix. For example, here is the link to the HLS video stream from the SKY news live stream.
What types of documents does Yodeck support?
The following document formats are supported by the Yodeck Players:
PDF files
Microsoft PowerPoint PPT and PPTX files (we already support importing them as Videos)
Microsoft Word DOC and DOCX files
Microsoft Excel XLS and XLSX files
These documents are automagically converted to PDF and displayed as slideshows.
How to Upload Documents with Yodeck
Learn how to upload and manage documents in Yodeck so you can display PDFs, Word files, PowerPoint presentations, and Excel spreadsheets on your screens. This guide is ideal for sharing promotions, internal communications, or training materials using digital signage.
In the full article, you’ll see where to upload documents from the Media section of the Yodeck Portal, how to choose the correct document type, and how to configure options such as page duration, availability dates, and document metadata. The guide also explains how to control how long each page appears on screen before saving the document for use in your content.
What types of images does Yodeck support?
Yodeck supports any image file type displayed in a modern browser. These include JPEG, PNG, SVG, and GIF (including light animations). Images are not resized automatically; they are delivered and played back exactly as you have uploaded them.
💡Note that large or heavy animated GIFs may not be played back smoothly, so it’s better to convert them into video.
How to Upload Videos with Yodeck
Learn how to upload and manage videos in Yodeck so you can display your own video files or use free stock videos directly from the platform. This guide is ideal if you want to quickly add engaging video content to your digital signage, even if you don’t have videos ready yet.
In the full article, you’ll see how to upload video files from the Media > Videos section of the Yodeck Portal, how to browse and select stock videos from Pixabay, Pexels, and Yodeck’s built-in library, and how to configure video settings such as availability dates, orientation, and cropping before saving the video for use.
How to Upload Images with Yodeck
Learn how to upload and manage images in Yodeck so you can display your own image files or use free stock images directly from the platform. This guide is ideal for quickly creating visual content for your digital signage, even if you don’t have images ready.
In the full article, you’ll see how to upload images from the Media > Images section of the Yodeck Portal, how to browse and filter stock images from Pexels, Unsplash, Pixabay, and Yodeck’s built-in gallery, and how to configure image settings such as default display duration, availability dates, and image details before saving the image for use.
How to Upload Audio File to Yodeck
Learn how to upload and manage audio in Yodeck so you can add sound to your digital signage. This guide is ideal if you want to upload your own audio files or extract audio from online videos such as YouTube or Vimeo.
In the full article, you’ll see how to add audio from the Media > Audio section of the Yodeck Portal, how to upload supported audio file formats or use a video URL as a source, and how to configure settings such as availability dates and audio details before saving the file for use.
What types of videos does Yodeck support?
Yodeck supports a wide variety of video formats!
Videos that you upload on Yodeck are automagically converted to industry-standard formats (H.264 with AAC audio) with high quality settings. This way, Yodeck can provide a high-definition viewing, with the smoothest playback possible.
-
YouTube and Vimeo videos are supported out-of-the-box, so they just get downloaded in the best possible quality (up to 1080p right now).
-
Live Streaming Videos (YouTube, Vimeo, UStream, or custom HLS or RTMP/RTSP streams). These will have to be delivered by the stream in H.264 format to make sure they will be played back on Yodeck Players.
-
PowerPoint files are converted to videos on our servers, retaining all transitions and animations.
Web Page – URL Parameters Per Device
Introduction
Web Pages provide a single URL address that is used throughout Yodeck. If you want to display different content depending on the device (Monitor), you would have to use a different web page entry for each monitor and create a different Show and Schedule.
To avoid this, we provide two unique parameters that can be used in the Web Page URL address. These parameters are replaced in the URL you provide with the respective values for each Monitor. Your web page should then be able to differentiate the behavior based on this ID. Here are the values we currently support:
DEVICE_ID – This is the ID displayed in the monitor listing, e.g., 4321
DEVICE_UUID – This is the ID displayed in the Monitor’s details, e.g. abcdef112abcdef112abcdef112
DEVICE_NAME – This is the Name of the Monitor, e.g. “Lobby Screen”
Please note the following:
All occurrences of these special names in all URL addresses will be replaced.
These parameter names are case-sensitive, so they must be used in uppercase. If they are not in uppercase, they will not be replaced.
The “DEVICE_NAME” values are URL-encoded, so you can use any character, including non-Latin characters.
Currently, there is no way to specify a value for DEVICE_ID and DEVICE_UUID. If you delete a Monitor (device) from your account, the DEVICE_UUID and DEVICE_ID values are lost, and you can’t retrieve them or re-create the device entry with these values. Check out the “Using a Custom ID” section below.
Using a Custom ID
If you want to use a Custom ID for each Monitor, you can use the “DEVICE_NAME” parameter with a twist to make it easier. If the name of a Monitor includes the special character “~” (called “tilde”), then only the part after tilde is used while replacing. So, if you specify “Lobby Screen ~653” as a Name for a Monitor, then the DEVICE_NAME parameter will use only the “653” value.
This way, you can specify a Custom ID within the Name of each Monitor, making it easier to manage the custom URLs.
Examples
Let’s say you have 2 Monitors with Device IDs 4001 and 4002. If you use the following URL in a Web Page:
https://httpbin.org/get?q=DEVICE_ID&argument=value
The following URLs will be sent respectively to each of the two devices:
To device 4001: https://httpbin.org/get?q=4001&argument=value
To device 4002: https://httpbin.org/get?q=4002&argument=value
Let’s say you have 3 Monitors with Device Names “Lobby Screen”, “Reception Screen” and “Arena Screen ~1234”. If you use the following URL in a Web Page:
https://httpbin.org/get?q=DEVICE_NAME&argument=value
The following URLs will be sent respectively to each of the two devices:
To device “Lobby Screen”: https://httpbin.org/get?q=Lobby%20Screen&argument=value
To device “Reception Screen”: https://httpbin.org/get?q=Reception%20Screen&argument=value
To device ” Arena Screen ~1234″: https://httpbin.org/get?q=1234&argument=value
How to create a simple Video wall with Yodeck
Learn how to create and manage a multi-screen video wall using Yodeck players. This guide is ideal if you want to display synchronized video content across multiple screens arranged in simple matrix or tiled layouts, such as 1×3, 2×2, or 3×3 video walls.
In the full article, you’ll see how to configure each screen individually in Yodeck, how to prepare and crop video content for video wall layouts, and how to use playlists with synced playback to achieve an impressive and coordinated video playback across all screens. The guide also explains common video wall setups, syncing behavior, and important limitations to consider before deployment.
What types of audio files does Yodeck support?
Yodeck supports many popular audio format types. The Audio formats that the player is supporting right now are the following:
-
AAC
-
MP4
-
M4A
-
MP3
-
OGA
-
OGG
-
WAV
How to set a Web Page to refresh
When you add a single Web Page to a Show, the Web Page will not refresh. The same thing happens with a Playlist with a single Web Page. This is by design since many Web Pages must be shown constantly.
To refresh a Web Page, enable the Refresh Web page toggle, located in the Web Page’s Advanced Settings. This will cause the Player to reload the Web Page every X seconds/minutes/hours.
⚠️IMPORTANT
If you refresh a page too often, the website might block your IP. Set a duration that matches your needs. We suggest a minimum of 180″ refresh time. Also, account for ALL the Players loading this Web Page. Your IP or whole system might be blocked if you load content from a third-party website too fast.
Custom Script
Remember that if you have added a custom script running on this web page by enabling the “Refresh Web page,” any Script Code you may have defined will only be executed on the page’s first load and not on each successive refresh.
Does Yodeck support authenticating on a web page?
How to Access a Website that Requires Authentication
Sometimes, when trying to access a specific URL on a website, you may encounter a prompt for authentication. This means the website requires you to provide login credentials before granting access to the page. In this article, we will discuss the two ways authentication is commonly implemented on websites and how you can access these pages using Yodeck.
HTTP Basic Authentication
The first method of authentication is called HTTP Basic Authentication. This type of authentication requires you to provide a username and password to access the page. With Yodeck, you can easily provide these credentials using the web page URL you are trying to access. Here’s how:
For example, if your username is “user” and your password is “passwd“, the URL would look like this: http://user:passwd@example.org/path/to/your/page.php
To test this out, you can use the following link in Yodeck: https://user:passwd@httpbin.org/basic-auth/user/passwd
Form-based Authentication
The second method of authentication is called form-based authentication. This type of authentication involves login forms and sessions/cookies. To access a page requiring this type of authentication, you must use Yodeck’s scripting engine. Here’s how:
By following these steps, you can access any website that requires authentication using Yodeck. If you have any problems, please refer to our help center.
How to Upload a Web Page with Yodeck
Learn how to display live web pages on your digital signage screens using Yodeck. This feature is ideal for showing websites, dashboards, internal tools, or online content directly on your screens without converting them into images or videos.
In the full article, you’ll see how to add a web page from the Media > Web Pages section of the Yodeck Portal, how to configure basic settings such as duration, availability, and fallback images, and how to use advanced options like page refresh, zoom, session retention, and browser compatibility. The guide also explains how to handle login-required pages and ensure reliable playback if a page fails to load.
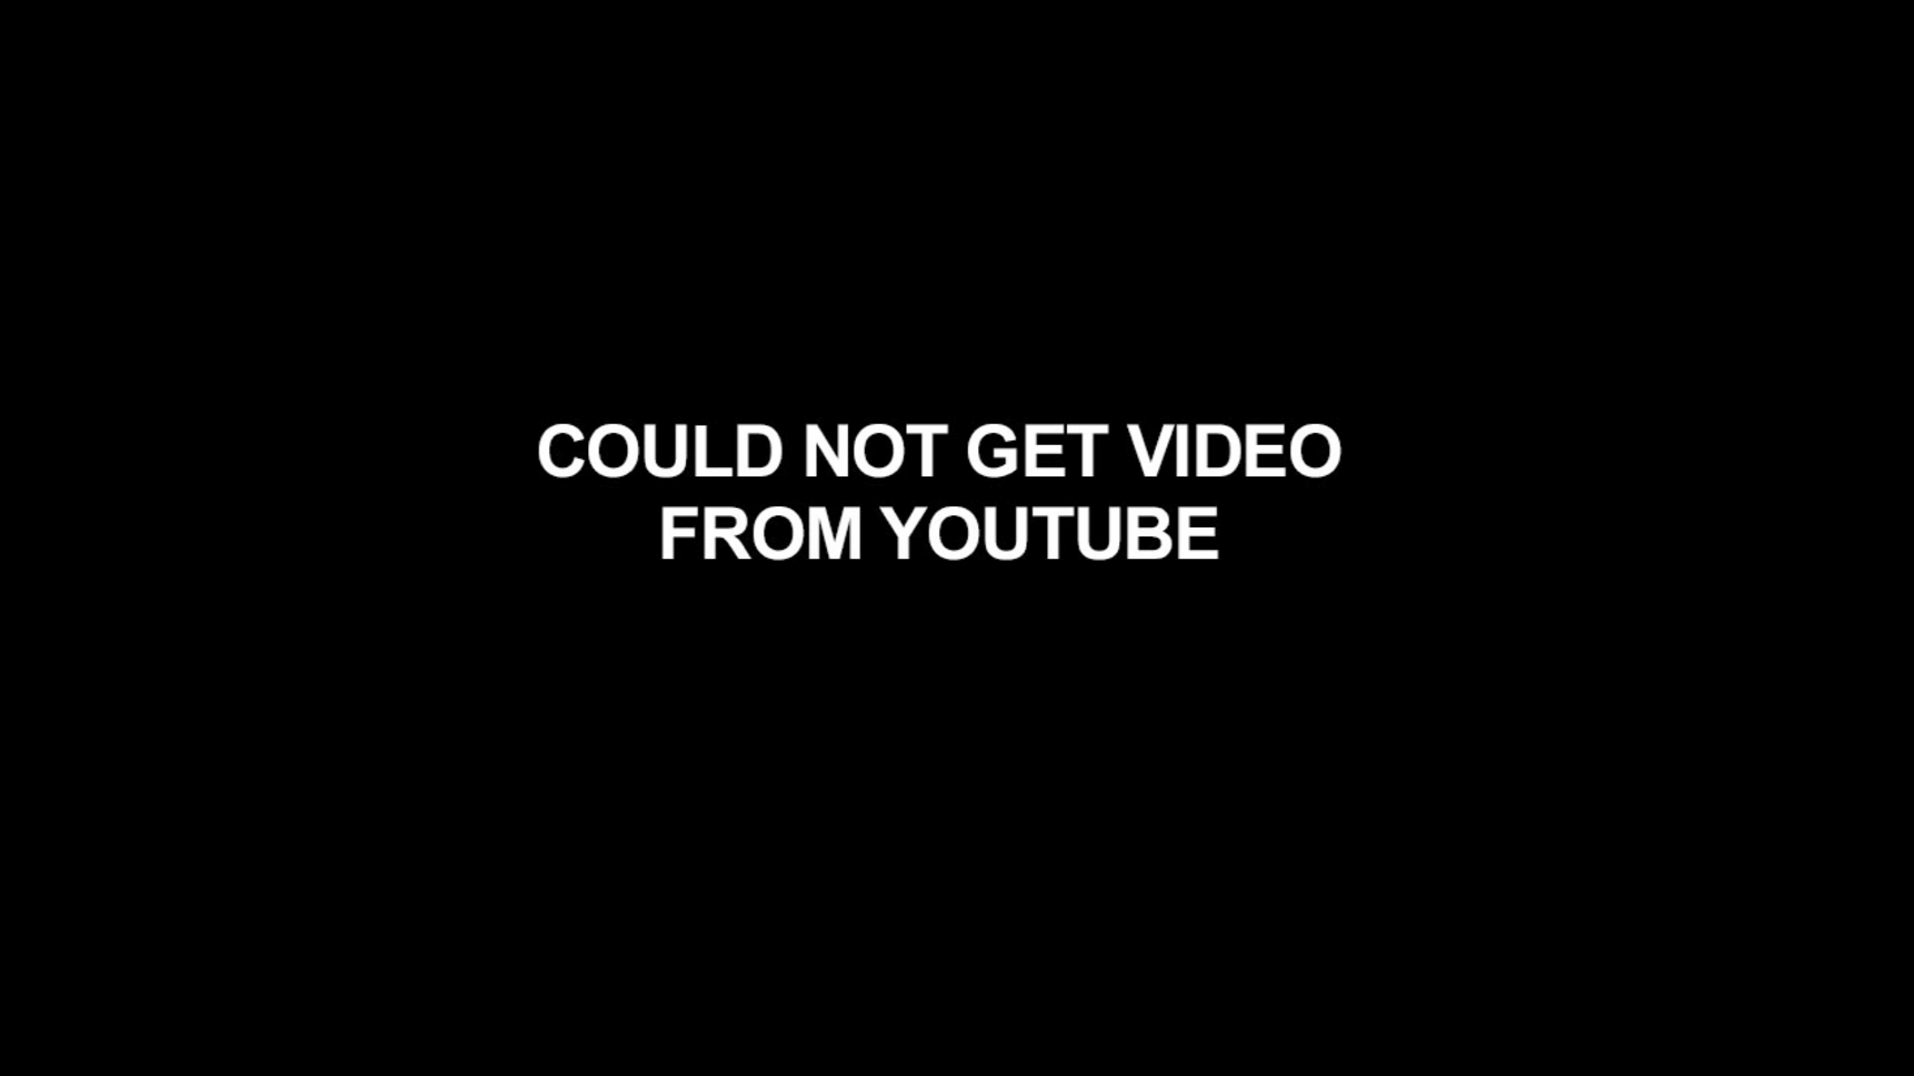
Why am I seeing the “Could Not Get Video from YouTube” on my screen?
Troubleshooting: Unable to Download YouTube Videos
Sometimes, you may encounter issues downloading YouTube videos on Yodeck. This can happen for various reasons, such as network issues or changes to the YouTube site. This article will discuss the possible causes and solutions for this problem.
Possible Reasons for Unable to Download YouTube Videos
There are several reasons why a YouTube video may not be able to be downloaded on Yodeck:
How to Identify if a Video Cannot be Downloaded
If a YouTube video cannot be downloaded, you will see a message saying “Could Not Get Video from YouTube” instead of the video itself. This is an indication that there is an issue with downloading the video.
What to Do if You Cannot Download a YouTube Video
If you happen to have this issue, please don’t worry! Our support team is here to help. Contact our support team, and we will take care of it. We will look into the issue and give you a solution as soon as possible.
Can I use PowerPoint slides with videos?
By uploading a PPT/PPTX file in your Yodeck Dashboard, which contains a video inside, the video will not be displayed.
To display the video, you should export the presentation as a video and import it as a Video in your Dashboard.
What is the maximum slide number that a ppt/pptx file can have?
The maximum number of slides that you can upload per ppt/pptx file in your dashboard is 200 slides.
Why my images don’t fit in the screen
In order for the player to display the image and occupy the entire screen, the uploaded images will need to be in Full HD 1920×1080 or according to your TV’s resolution requirements.
If you have already uploaded images with a resolution lower than the recommended one, you will see black bars on the sides of the screen.
For more information, please click the link below.
https://www.yodeck.com/docs/user-manual/images-on-screen/#Supported_Resolution
How can I display an internal/local website on Yodeck?
One of the great features of Yodeck players is that they support displaying internal or local websites. This means that you can display your company’s website, an internal dashboard, or any other website that is only accessible on your local network.
Requirements
To display internal websites on Yodeck players, you will need the following:
- The players will need to be on the same network as the web page is hosted
- Or, at least have a routing to that web server
How to create a web page
- Log in to your Yodecka account
- Follow this link to create a new web page:
- Paste the local URL link and click the “Proceed to form”
- Save the form
- Assign the web page to the player
What Save options do I have?
How to Save a Media File in Your Playlist or Screen
When working with media files in our platform, you have the option to save them in two different ways. This article will explain the differences between the “Save and change to playlist” and “Save and set to screen” options.
Saving to a Playlist
When you choose the “Save and change to playlist” option, you have the ability to add the specific media file to an existing Playlist(s). This is a great option if you want to keep your media organized and grouped together. The media file will always be added at the end of the sequence, so you can easily find it when playing your Playlist.
Saving to a Screen
The “Save and set to screen” option allows you to assign the specific media file to a screen(s). This is useful if you want to display the media on a specific screen rather than having it play in a Playlist. However, I’d like to point out that the media won’t automatically appear on the screen. You will need to Push to screens when you’re done setting up your media file.
It’s also worth mentioning that you can save a media file to both a Playlist and a screen. This can be helpful if you want to have the media play in a Playlist, but also want to display it on a specific screen at the same time.
Conclusion
Now that you understand the differences between the “Save and change to playlist” and “Save and set to screen” options, you can choose the best option for your needs. Whether you want to keep your media organized in a Playlist or display it on a specific screen, our platform has you covered. Happy saving!
Hide Cookie Banner – Script Automation (BETA)
Introduction
When adding a web page to Yodeck, managing cookie banners effectively is essential for a seamless display. Cookie banners can significantly impact the appearance of a web page, sometimes blocking critical elements. To address this challenge, Yodeck offers a “Hide Cookie Banner” script template that simplifies the process. This innovative tool automatically handles cookies for major providers and popular custom setups, ensuring a clean and uninterrupted viewing experience without complex scripting.
Overview
When adding a web page in Yodeck, you must understand that it will run in a new browser window. This means that a web page containing a cookie banner will appear on your screen, significantly impacting its appearance and potentially blocking a useful part of the page.
To help you avoid this process, we have created a “Hide Cookie Banner” script template that you can easily toggle on and off.

How it works
The “Hide Cookie Banner” script template is an extensive script that handles all the major cookie providers across the web (OneTrust, CookieBot, UserCentrics, Osaka, etc.) and many other custom cookie banner setups by popular websites. Its aim is to automatically click “Accept Cookies” to permanently hide the banner from your screen without requiring you to create a custom script.
Troubleshooting
This option is in BETA and won’t work in 100% of cases. Common problematic scenarios:
The script can’t locate the “Accept Cookies” button. If that’s the case, you’ll still see the banner in the preview of the web page. To remove it, please disable this option and create a custom script. You can check instructions on how to create a script here, or you can contact our support team, which will help you build the script.
The script also clicked other elements in the web page that opened a different popup. If that’s the case, you’ll see the new popup/banner in the preview of the web page. To remove it, please disable this option and create a custom script. You can check instructions on creating a script here or contact our support team, which will help you build the script.
The script seemingly doesn’t work in preview mode but will work on an actual Yodeck Player. In rare cases, the script template won’t work in the preview mode due to browser limitations. If you have a player available, please also test it there before concluding it won’t work for your case.
File size limitation on the Yodeck portal
All files you upload to the Yodeck portal undergo re-encoding (“transcoding”) to ensure the resulting file format is playable by the players.
Our encoding service can handle single files of up to 5GB.
Based on the above, uploading a single file with a size above 5GB is impossible.