In today’s fast-paced world, staying organized is essential, and digital calendars have become indispensable tools for individuals and businesses. They offer the convenience of real-time updates, easy sharing, and the ability to access your schedule from anywhere. If you’re looking to turn any screen into a dynamic digital wall calendar effortlessly, Yodeck is here to help.
A Step-By-Step Guide
In this step-by-step guide, we’ll show you how to create a digital wall calendar using Yodeck, unlocking the potential to streamline your daily life and enhance productivity. This calendar will help you easily stay organized and on top of your schedule. Whether managing personal tasks or coordinating team activities, a digital calendar display can be a reliable solution in any setting.
Step 1: Sign Up for a Yodeck Account
Before you embark on your digital calendar journey, you must sign up for a Yodeck account. Visit the Yodeck website and follow the straightforward registration process. To get started, you can choose from different pricing plans, including a free trial.
Step 2: Set Up Your Yodeck Device
Once you have your Yodeck account, it’s time to set up your device. Yodeck supports various devices, from Raspberry Pi to media players and smart TVs. Choose the hardware that suits your needs and follow the installation instructions provided by Yodeck to get your device up and running.
Step 3: Create a Calendar in Google Calendar
Yodeck seamlessly integrates with the Google Calendar app, syncing your digital wall calendar easy. If you don’t already have a Google Calendar, sign up for one and start creating events and appointments. Be sure to categorize your events, as you can display specific calendars on your digital screen later.
Step 4: Install the Yodeck App
You’ll need to install the Yodeck app on your chosen device to make the magic happen. This app bridges your Google Calendar and the screen you want to turn into a digital calendar. Follow the installation instructions provided by Yodeck for your specific hardware.
Step 5: Connect Yodeck to Google Calendar
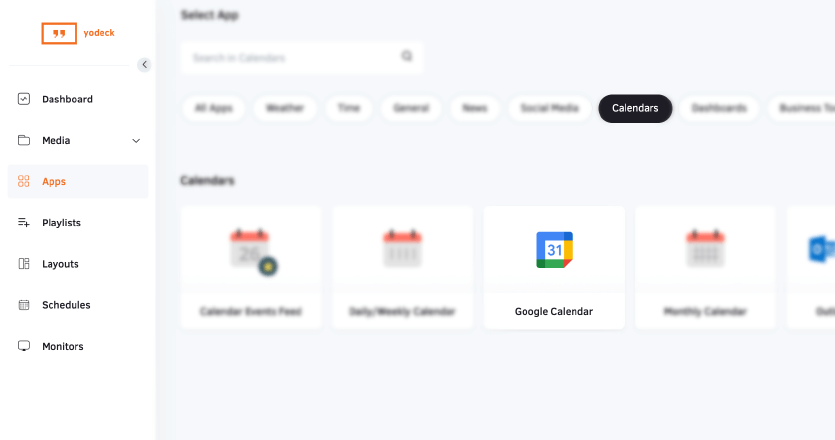
Now that the Yodeck app is installed, it’s time to connect it to your Google Calendar app. In your Yodeck account, navigate to the “Apps”, then select “Add App”. Scroll down the App Gallery, then click “Google Calendar” and “Use”. Last but not least, type in a name and optional description for your Google Calendar app.
Step 6: Customize Your Digital Calendar
With the integration complete, you can now customize your digital wall calendar. Yodeck offers various free digital signage templates and layout options to choose from. Select a design that fits your style or branding and configure your calendar settings to display the specific calendars and events you want.
| If you want to add more engaging content to your screens, check out our guide to creating a social media wall for digital signage and display live posts or announcements next to your calendar.
Step 7: Publish Your Calendar
Once you’ve customized your digital calendar, it’s time to publish it. Yodeck allows you to select the screen or screens where you want your calendar to appear. You can also schedule when the calendar should be displayed, ensuring it’s always up-to-date and relevant.
Step 8: Enjoy Your Digital Wall Calendar
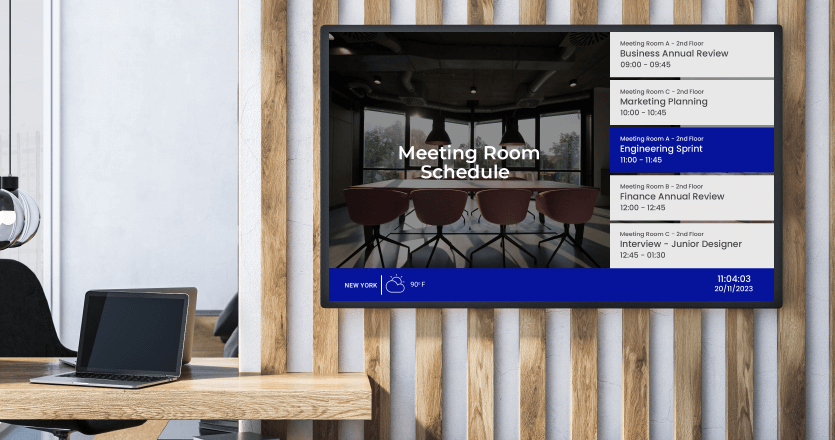
Congratulations! You’ve successfully turned any screen into a dynamic digital wall calendar using Yodeck. Now, enjoy the benefits of having your schedule readily available at a glance. Your digital wall calendar can be displayed in your home, office, lobby, or any other location where you must stay organized and informed.
In conclusion
Staying organized has never been easier. By following this step-by-step guide, you can harness the power of Yodeck and take control of your time management. Whether managing a busy household or a bustling office, a digital wall calendar created with Yodeck is your key to enhanced productivity and efficiency.