Yodeck Player
If you purchase a pre-configured Yodeck player, it will be automatically registered to your account upon receipt, streamlining the setup process for your convenience!
To set up the pre-configured Yodeck player, follow these simple steps:
- Connect the player to your screen using an HDMI cable, ensuring it is plugged into the left HDMI port.
- Establish an internet connection by connecting the player to your router using an ethernet cable.
Note: If you don’t have an ethernet cable, you can connect to the internet using WiFi. - If you preconfigured the WiFi settings when placing your order, your player will automatically connect to your network.
- You can connect to your network through the WiFi wizard if you haven’t preconfigured the WiFi settings. Learn more about the WiFi Wizard.
- After establishing an internet connection through ethernet or WiFi, return to your player and connect the power supply to turn it on.
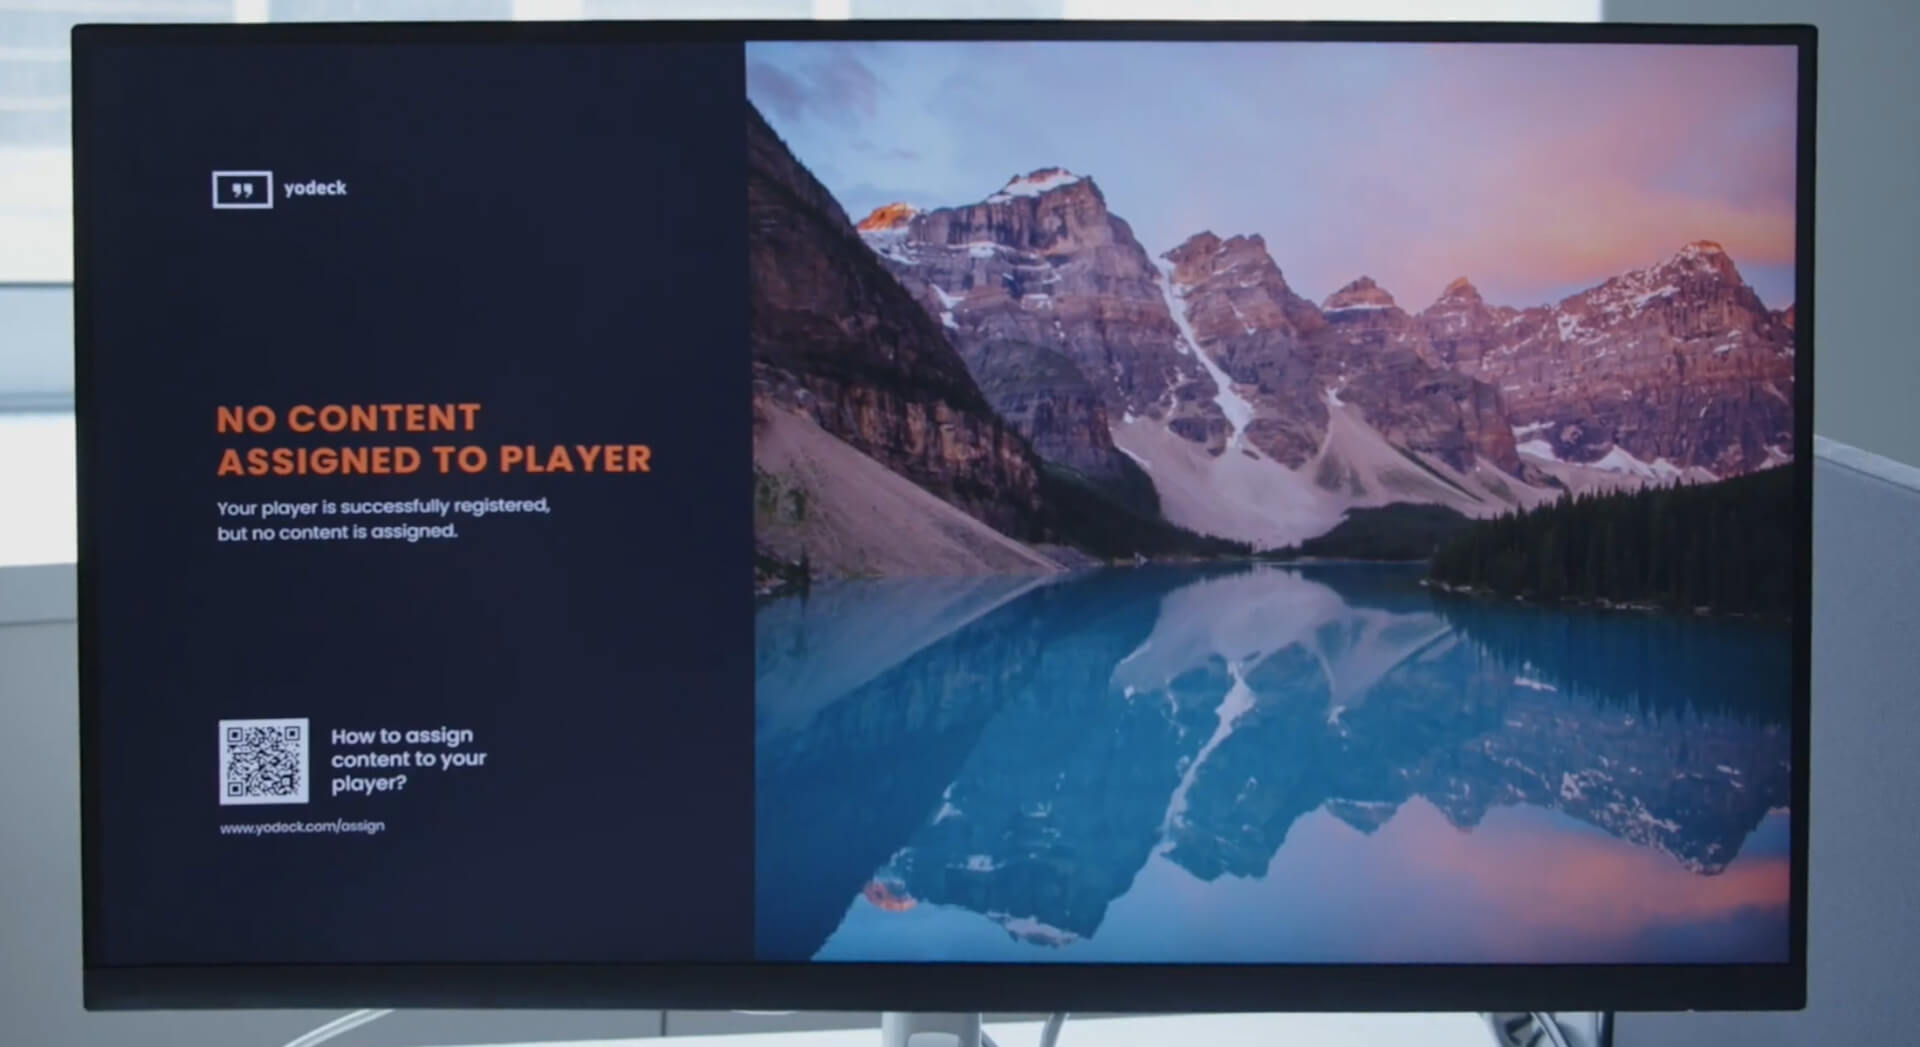
Upon powering up, your screen will show ‘no content assigned’ unless you have already assigned content to it.
To configure content for your screen, access the ‘Monitors‘ settings and specify the ‘Scheduled Content‘ and ‘Default Content‘. (learn more about assigning content). Save the changes, and with a simple push to players, your content will be on the screen within seconds.