
Connect your Yodeck media player to your network using the WiFi Wizard
If you prefer connecting your Yodeck media player to your network via WiFi, follow this guide.
Using WiFi for internet connection is particularly convenient when managing numerous digital signs across multiple locations, avoiding the need for excessive cables.
To connect your player to your WiFi network, log in to your Yodeck account and access the ‘Settings‘ of the monitor you are using.
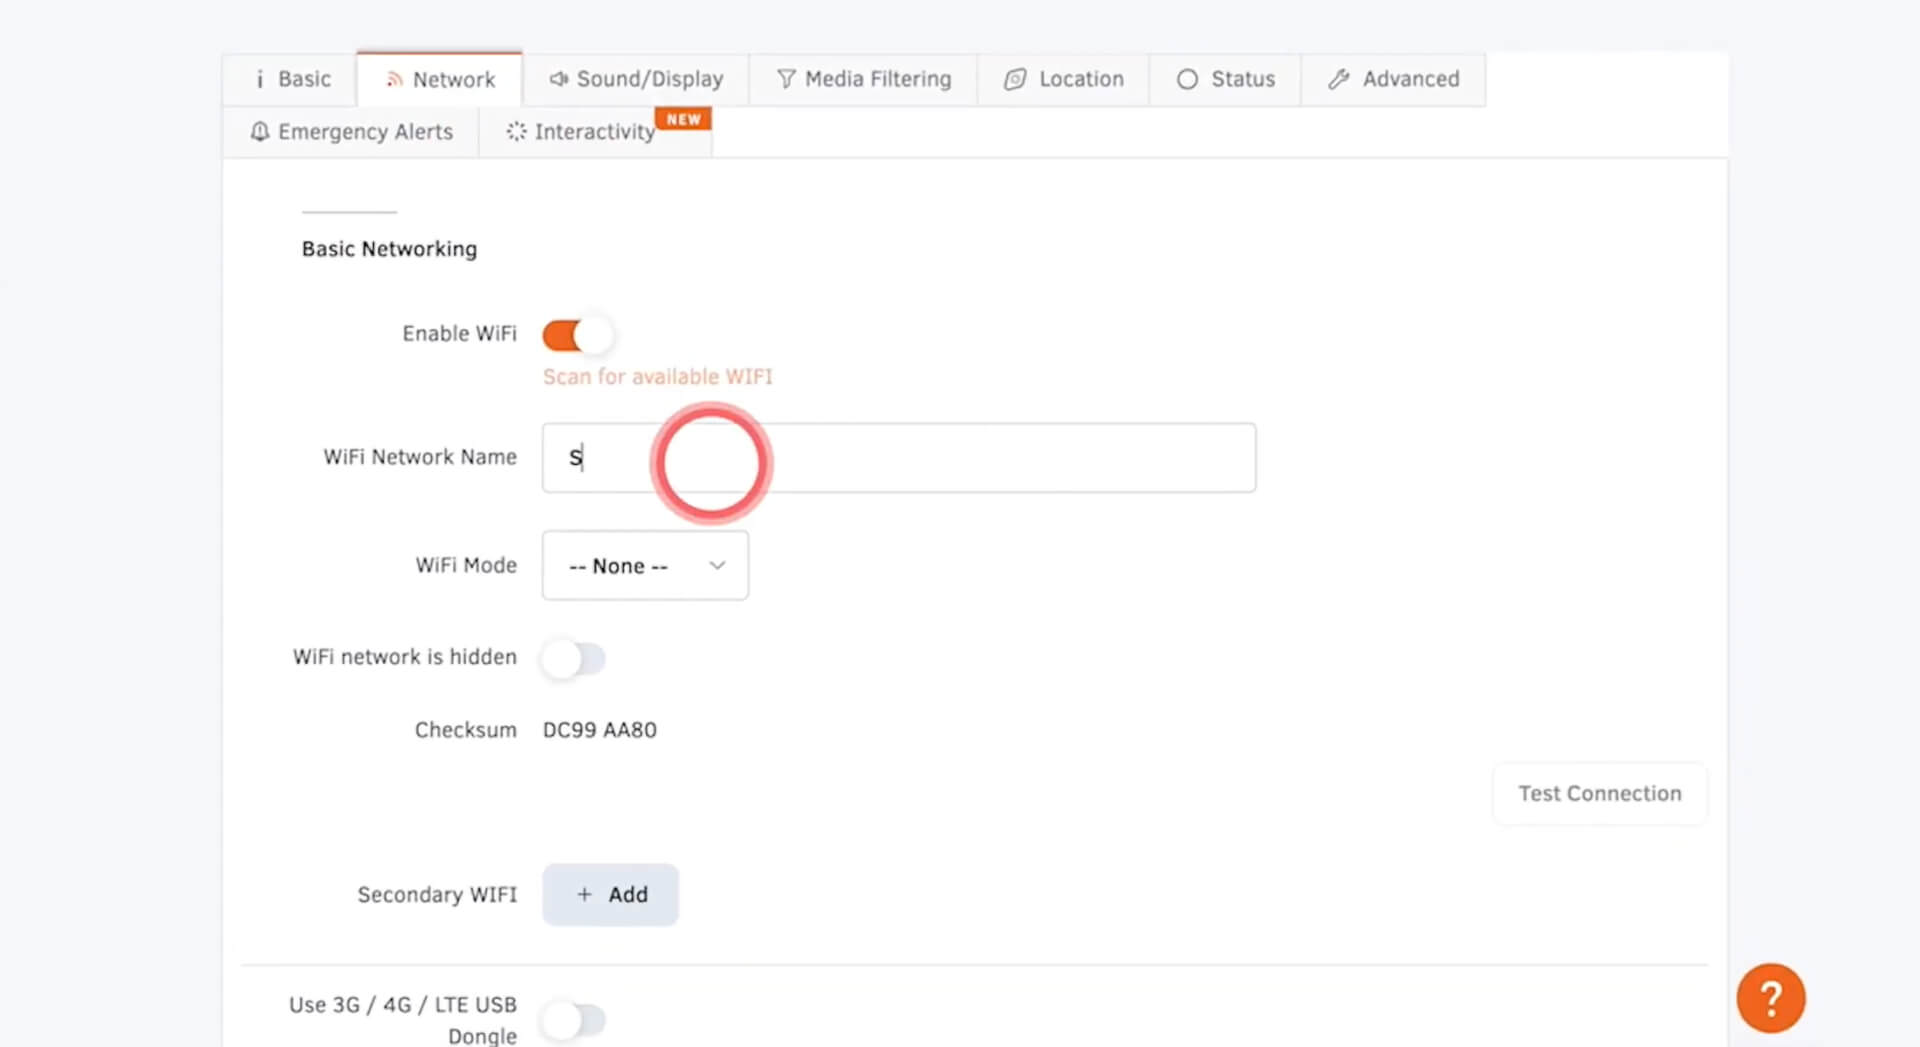
- Under ‘Network’, ensure ‘Enable WiFi’ is on, and add your WiFi credentials.
- Return to your Yodeck player and plug a keyboard into one of the USB ports. Press at the same time Ctrl+Alt+F12.
- When prompted, type ‘User‘ and press Enter on the keyboard. Then, enter your password.
- For Preconfigured Players:
Access the advanced settings for the monitor you are using, click on ‘Security‘, and you will find your ‘Remote Support Password‘ at the top of the settings. - For DIY Players:
If you have built your own Yodeck player, and it’s your initial registration, the default password is ‘signagepassword‘, all lowercase, and no spaces. - Enter your password, and keep in mind that it is case-sensitive. *Please note that you will not see what you are typing on the screen for security reasons.
- After entering your password, click ‘Enter‘.
You will then be directed to a page that says ‘Configuration Wizard‘. - Select the first option, ‘Configure WiFi’, and your player will search for available networks.
- Choose your network and press ‘Enter‘.
- Enter the network password, click ‘Yes‘, and the player will save the WiFi settings and proceed to configure your player.