Create a Yodeck Media Player
If you have a Raspberry Pi available, you can easily transform it into a Yodeck media player—a cost-effective and reliable solution designed specifically for digital signage. Follow these straightforward steps for a quick and hassle-free setup, and your personalized media player will be up and running in no time!
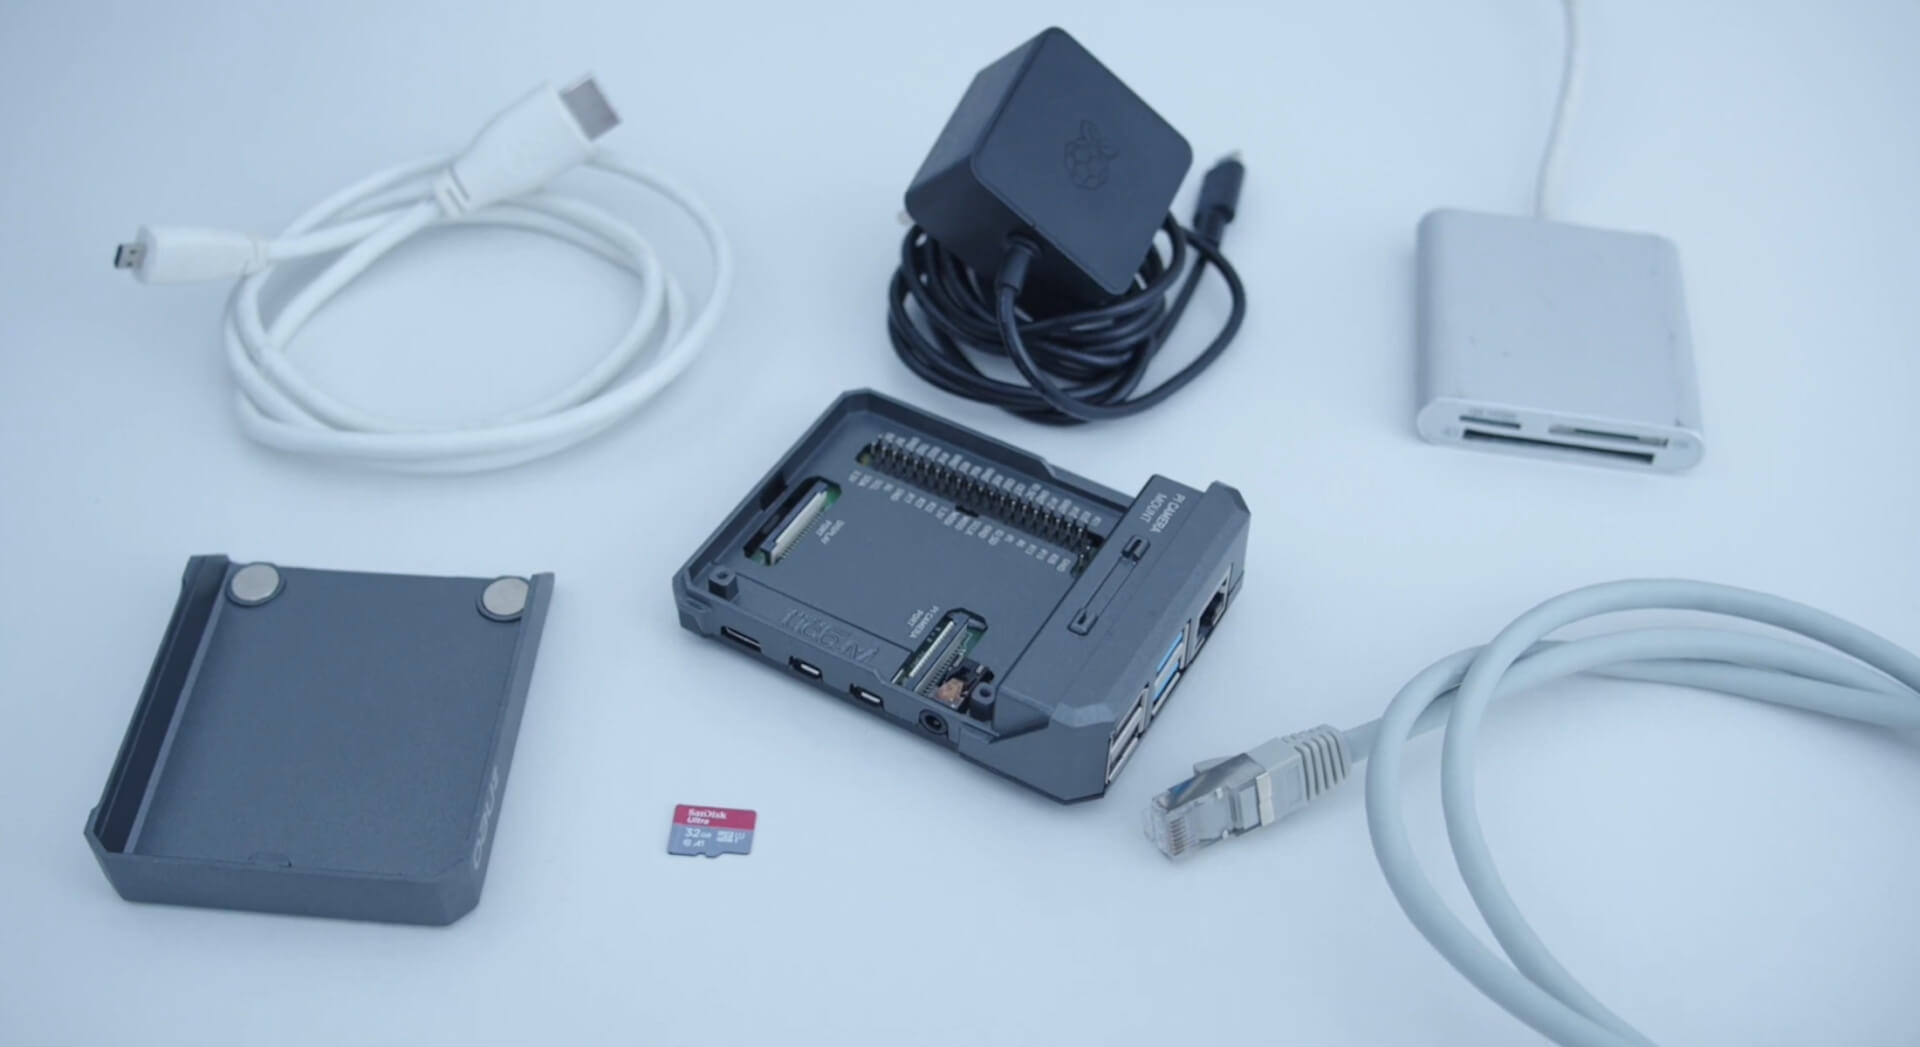
First, make sure you have all the necessary items, including:
- Raspberry Pi (RPi 4 is recommended, either 2GB or 4GB model).
- Micro SD card with a minimum of class 10 and at least 16GB (3.5GB is used for the software).
- SD card reader (if needed).
- Power supply for the Raspberry Pi.
- HDMI to micro HDMI cable.
- Consider a metal case for the Raspberry Pi for heat protection (recommended).
Follow these steps to prepare the SD card with the Yodeck software image for your Raspberry Pi:
- Download the latest Yodeck SD card image.
- Unzip the downloaded file on your computer. It should be a single IMG file, approximately 3.2GB in size.
- Download Etcher, an SD card image writing and verification program. Alternatively, you can use Pi Imager.
- Insert the SD card into your computer or SD card reader.
- Open Etcher, select the unzipped Yodeck image file, choose the SD card for writing the image, then click ‘Flash!’. Ensure you wait until the validation process completes after flashing. Afterward, remove the SD card and insert it into the Raspberry Pi.
- Power up the Raspberry Pi and connect it to your monitor.
- Connect to the internet using an ethernet cable. Allow about five minutes for the initialization process to complete.
- Your registration code should then appear on the screen, indicating that your device is ready for registration!