Create a Schedule
The ability to schedule your content is just one of the many advantages offered by Yodeck Digital Signage. With the flexibility to create schedules from any location and at any time, provided you have an internet connection, you can ensure that your content is displayed precisely when and where you want it. This allows you to target specific audiences with your promotions effectively.
For instance, if you manage a restaurant and wish to showcase different menus throughout the day, you can effortlessly schedule a breakfast menu for the morning, switch to a lunch menu midday, and transition to a dinner menu in the evening. Your digital menu boards will automatically adapt to the scheduled changes, streamlining the process for a hassle-free experience!
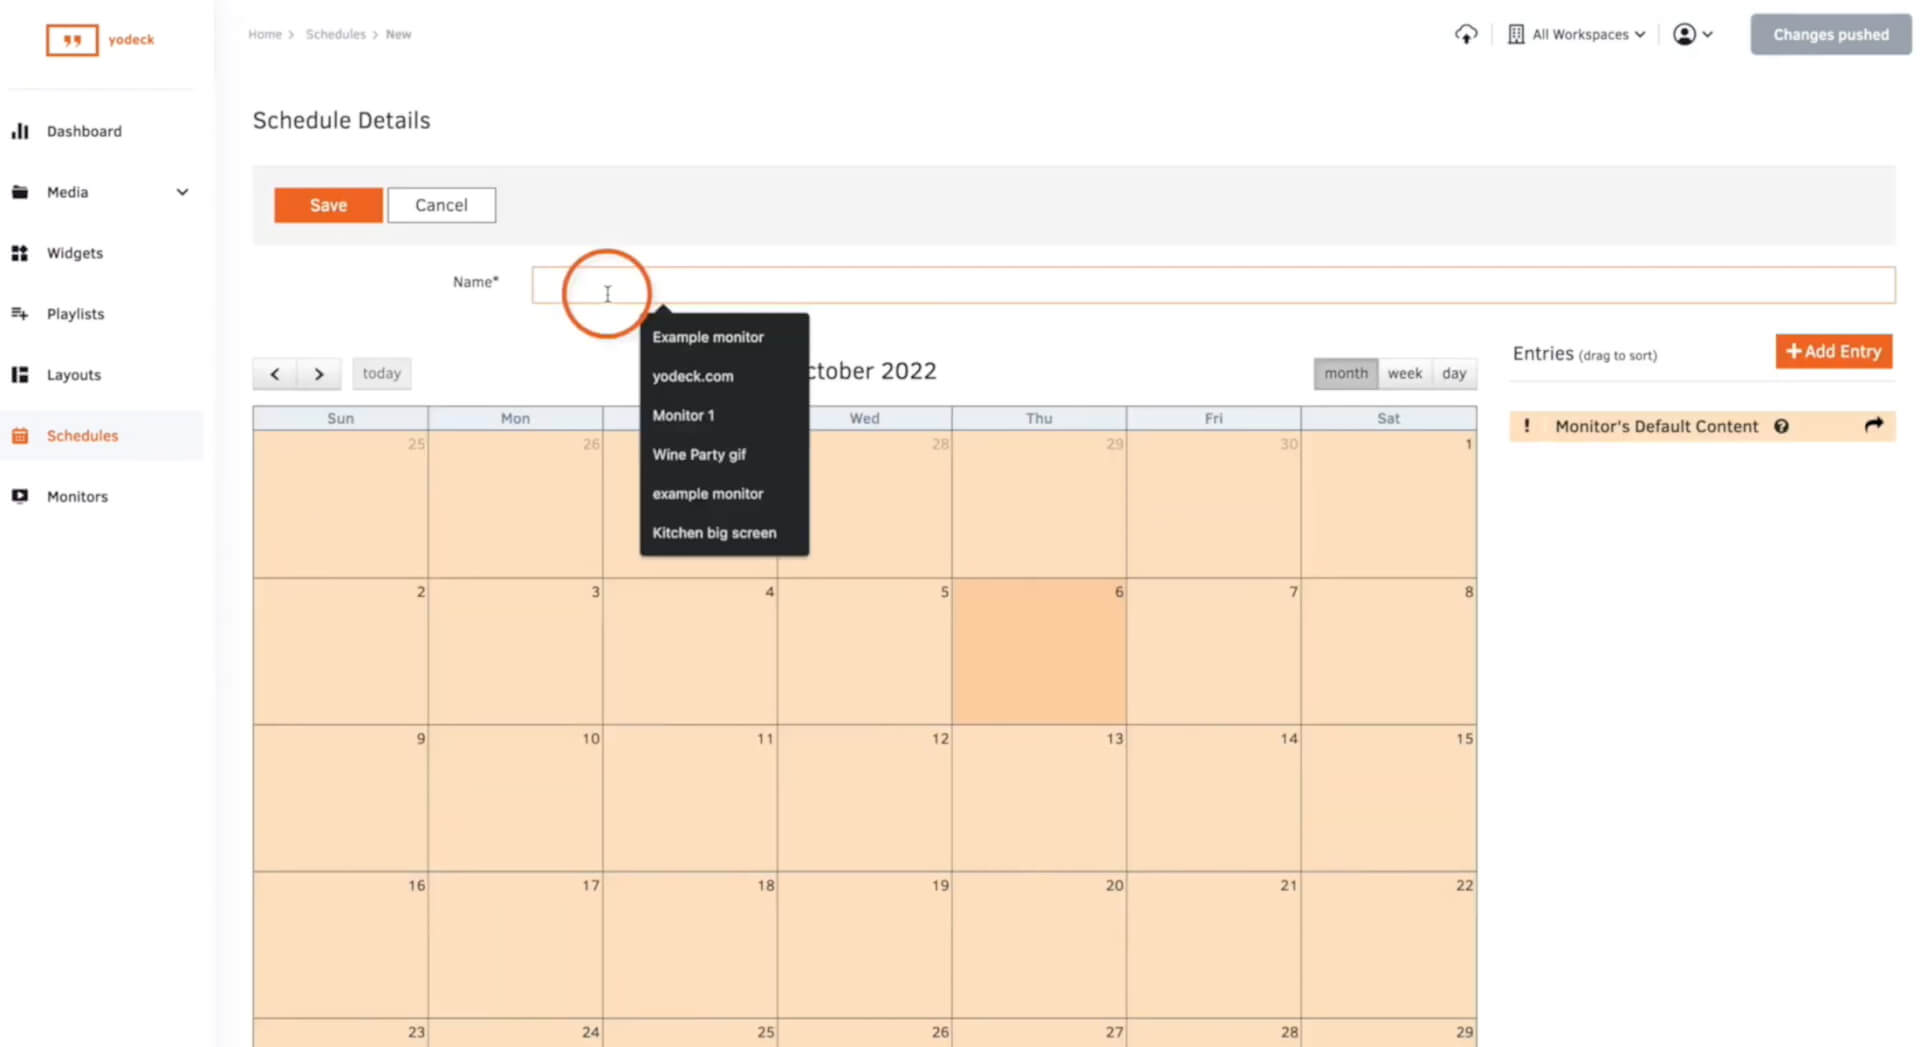
- Navigate to the schedules tab and click ‘Add schedule‘.
- Provide a ‘Name’ for your schedule.
Upon accessing the screen, you will encounter a blank calendar. As you begin adding entries, the calendar will progressively fill with your scheduled content.
- To insert an entry, click the ‘Add Entry‘ button.
- Choose the type of content you wish to add by selecting either a layout, playlist, a single media file, or the option to turn your screens off and on.
- Select the specific layout, playlist, or media from the drop-down box.
- Specify the entry’s start and end dates and times to determine when you want it to be displayed on the screen.
Note: If you intend for a piece of content to be shown for a specific duration within the day, make sure to set the start and end dates to be the same. - Utilize the drop-down box to choose the frequency of displaying the content. If you have opted for daily, proceed to select the specific days you want the content to be shown.
- Click ‘Save’, and you will see your new entry on the calendar.
Once you have added all the necessary entries, save your schedule; it will be ready for use! Simply navigate to your monitor’s settings and configure the scheduled content.

