BrightSign Media Player
You can now use Yodeck with your BrightSign players, giving you more flexibility when it comes to choosing the perfect commercial-grade media player for your digital signs!
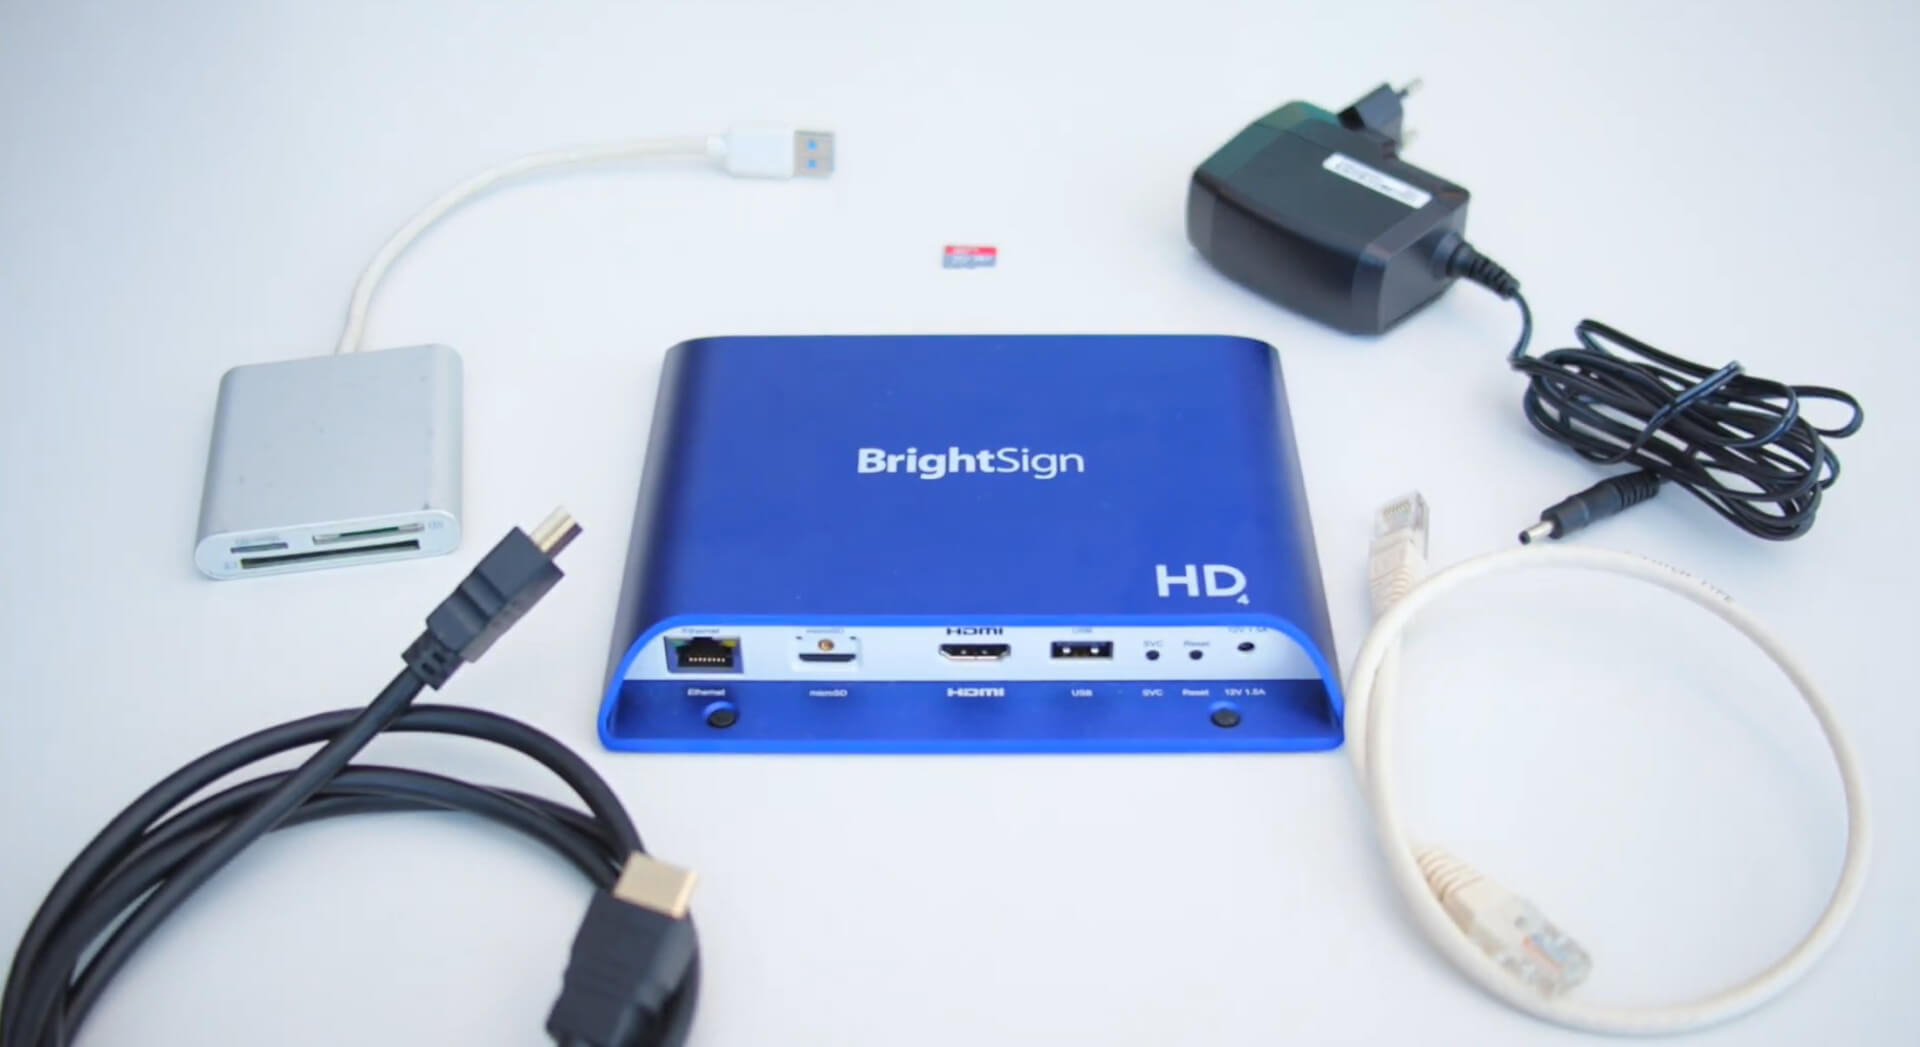
To set up your BrightSign player for use with Yodeck, first, ensure that you have the following:
- BrightSign player (any version will work).
- Power supply unit for the BrightSign player.
- Micro SD card (at least class 10 and 8GB).
- SD card reader (if needed).
- HDMI cable.
- Ethernet cable.
After assembling all the necessary equipment, you need to prepare your SD card.
- Format the card to FAT32. Next, download the Yodeck BrightSign player app.
- Unzip the downloaded file on your computer, and then copy all of the extracted files to the root folder of the SD card.
Note: At this stage, make sure you have opened the unzipped folder and copied the individual files inside to the SD card, rather than copying the root folder alone. - Safely remove the SD card from your computer. Make sure the BrightSign player is turned off, then insert the SD card. Now, you can turn on the player.
Note: Ensure that your player is connected to the internet via an ethernet cable and to your screen via HDMI.
The setup will happen automatically and will take a few minutes. It may reboot a few times.
Once the process is complete, you will see the Yodeck BrightSign player running on-screen along with your unique 9-digit registration code.
Register the Player to your Yodeck Account
- Log in and go to the ‘Monitors‘ tab. Add a new monitor and select the ‘BrightSign‘ option.
- Provide a ‘Name’ for the monitor and add your 9-digit code under ‘Registration Code’.
- Select the content you want to show on the screen and click ‘Save’.
- Go back to your Yodeck account, and in the ‘Monitor’s Settings’, under ‘Registration Code’, add your personal code.
- After a few minutes, your player will be registered to your account and will start displaying the content assigned to that screen.