DIY Yodeck Player
Once you have created your own Yodeck player, you need to register it to your Yodeck account.
- To register your player, ensure it is connected to your screen using an HDMI cable. The HDMI cable should be plugged into the left port of your Raspberry Pi.
- Ensure you are connected to the internet through an ethernet cable.
- Next, power on your player by connecting the power supply.
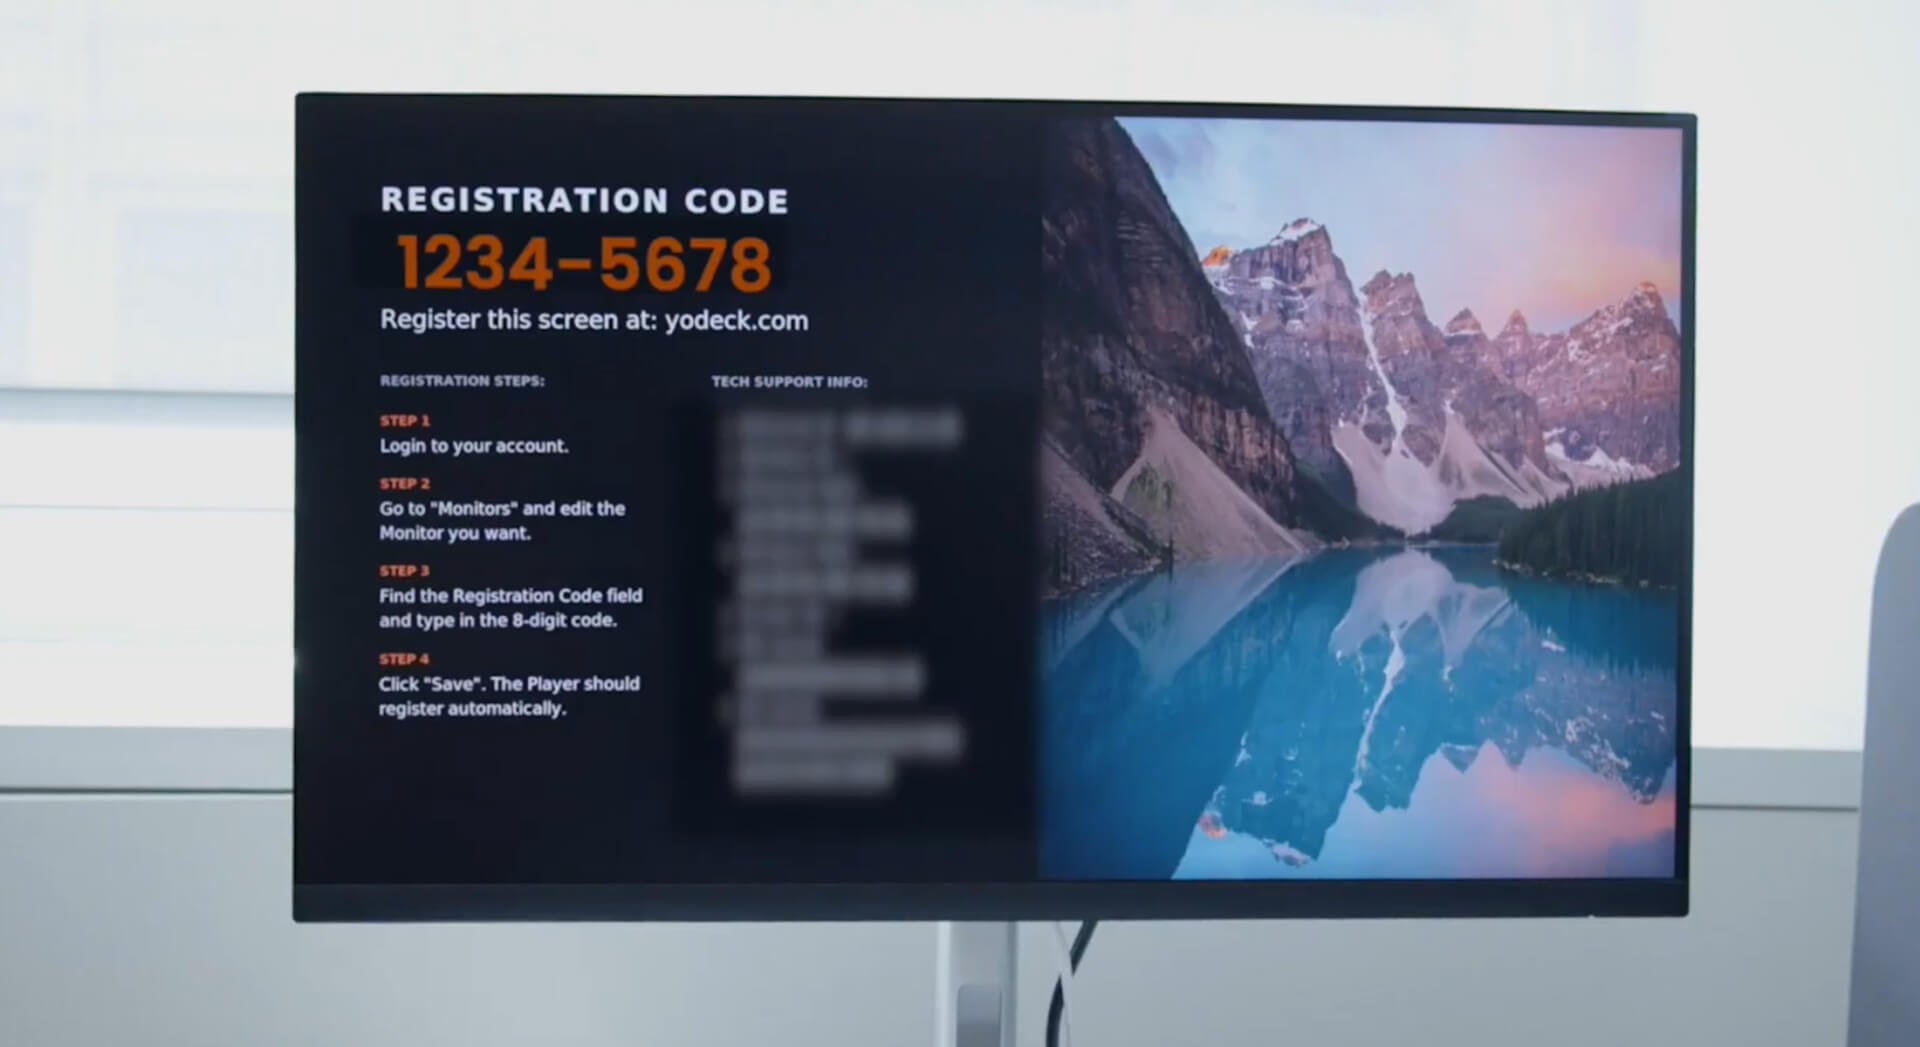
- Upon powering on the player, after a few minutes, you will see an eight-digit number displayed on your screen. This is your player’s registration code.
- Now, log in to your Yodeck account and click on the monitor you wish to register. If you haven’t created a monitor entry yet, click ‘Add Monitor‘, and choose the Yodeck player.
- Provide a ‘Name‘ for your monitor, and enter the registration code.
- Click ‘Save‘, and your player will be registered to your account, allowing you to start displaying content in no time!